
Big enough to
hang.
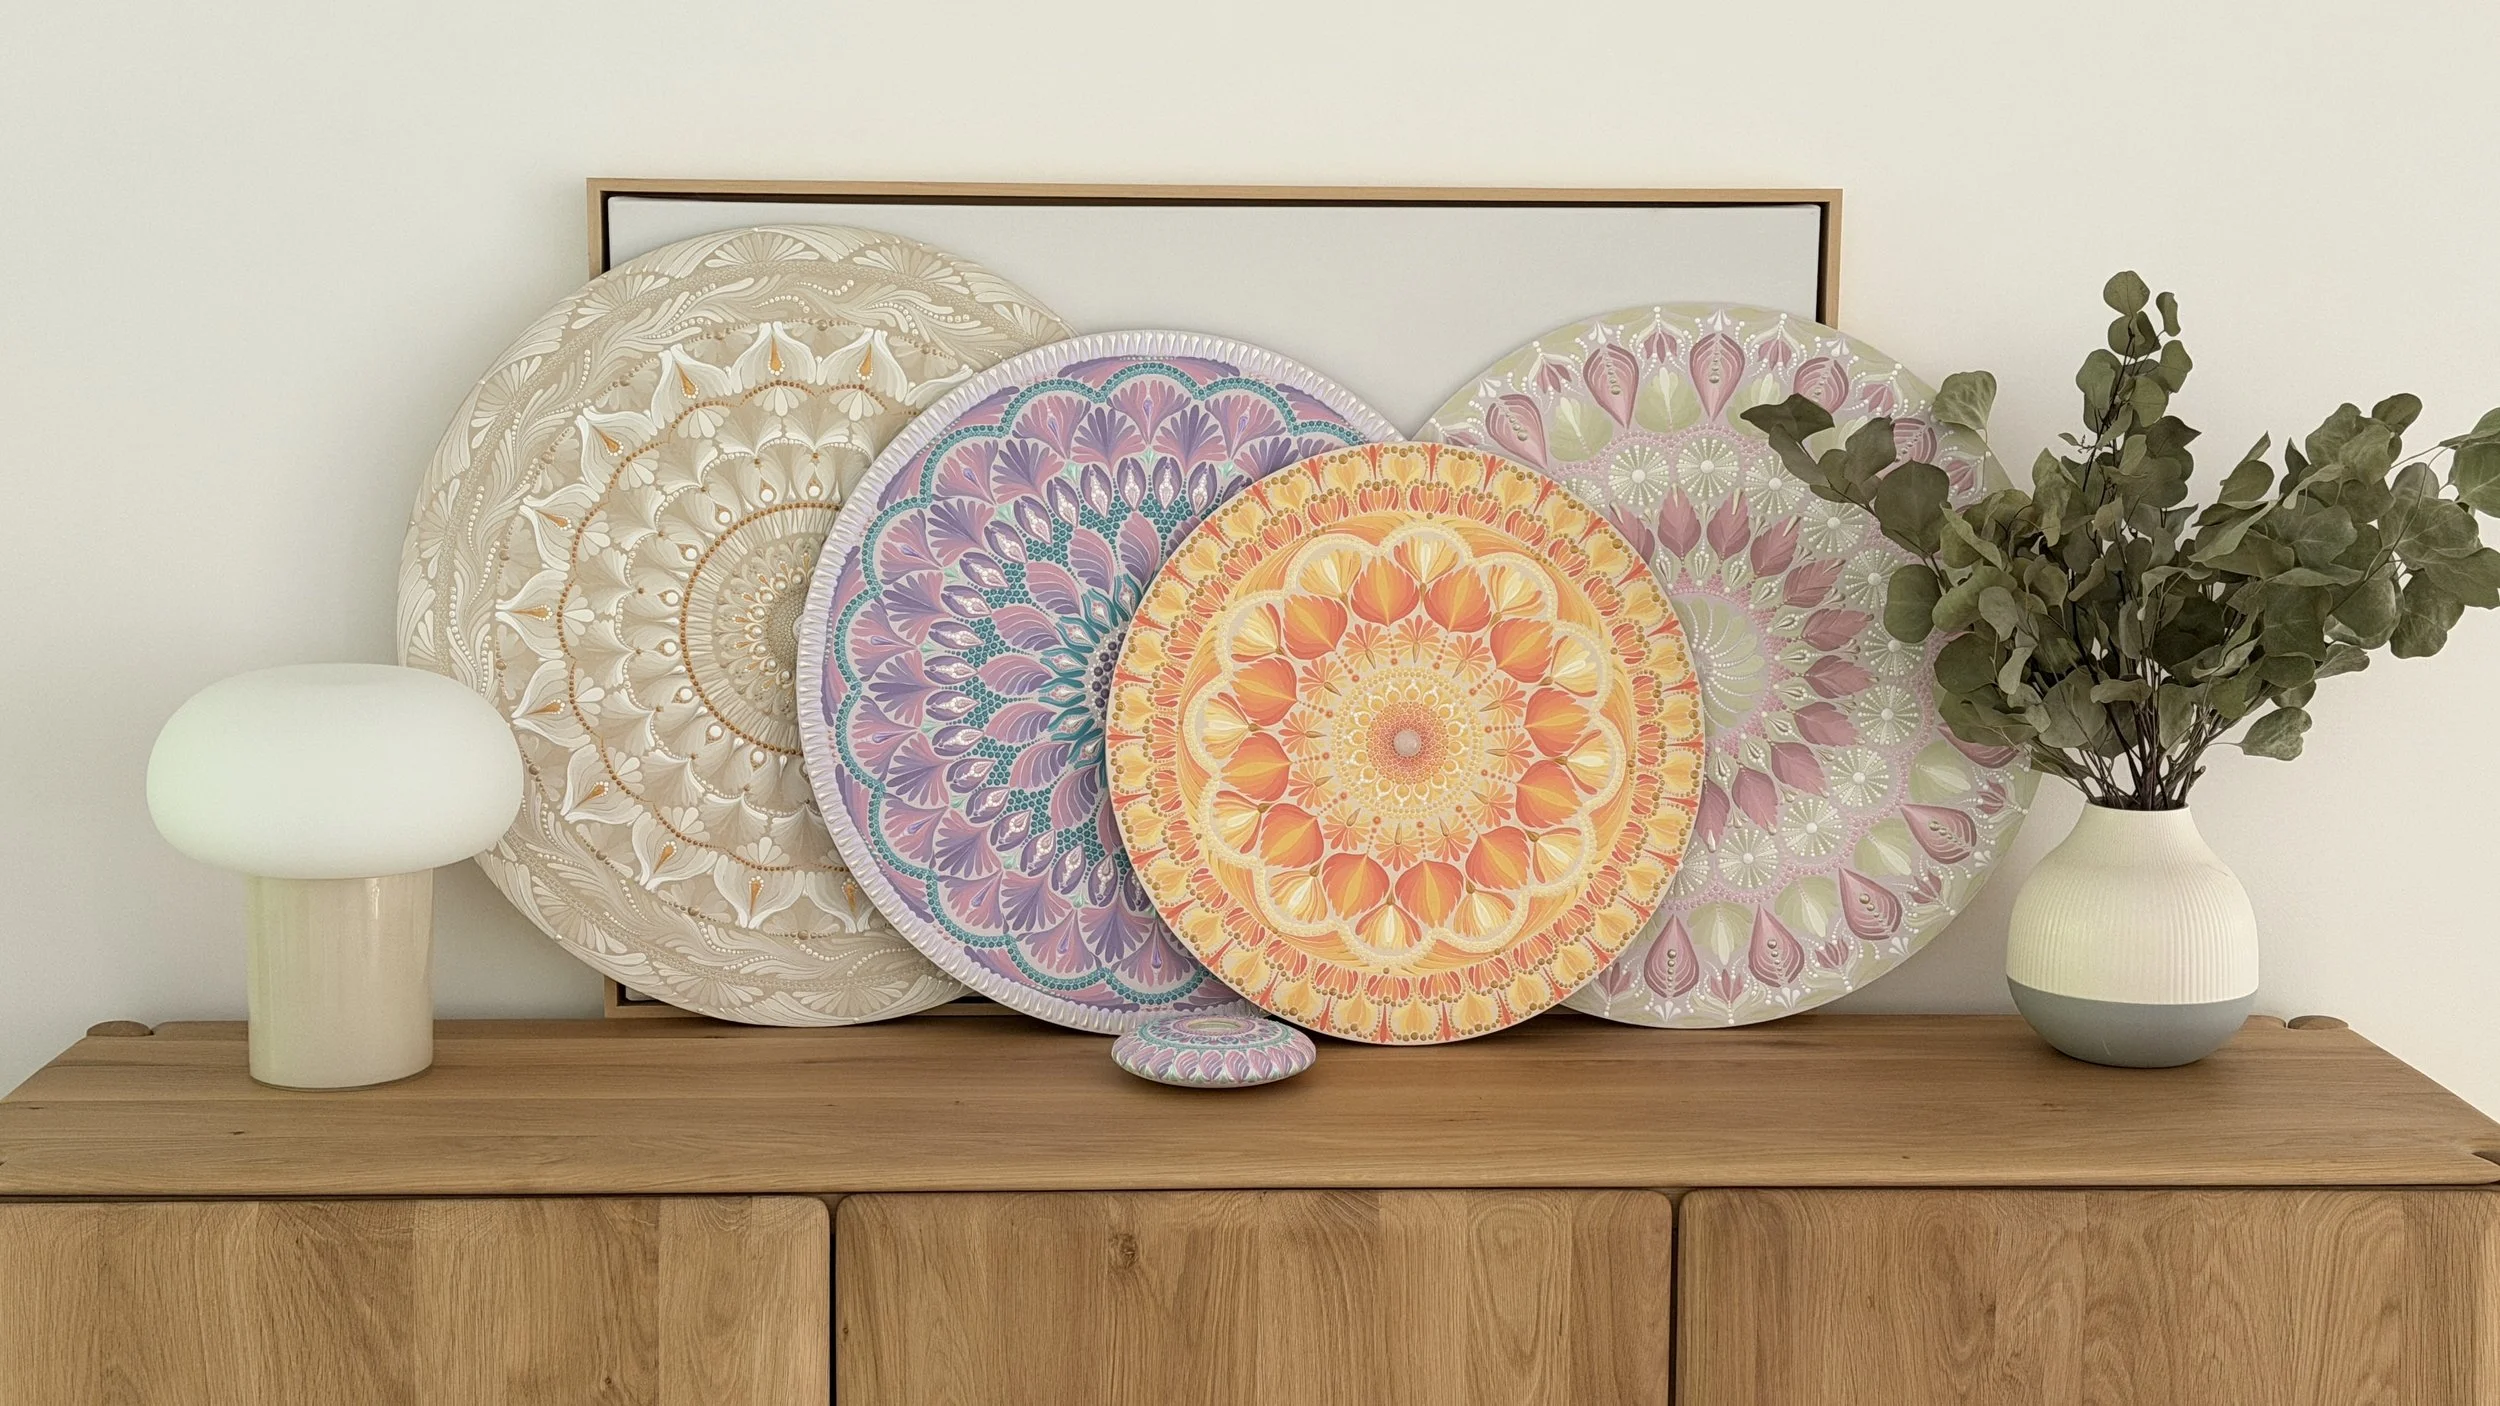
Twenty-eight lessons that take you from your first brushstroke on paper to a finished 22-inch mandala. Not a coaster. Not a stone. A piece that belongs on your wall.
"My art is my therapy - and without Lina
I would still be wandering the web."
- Cheryl
Most dot art lives small. A stone, a coaster, an ornament. Beautiful - but easy to put in a drawer. This course is about the piece you don't put in a drawer: a twenty-two inch mandala, painted with brushes as well as dots, that people notice the moment they walk into the room.
Nobody starts on the big board.
You practice first. On paper, with no pressure, until your hand knows what it's doing. Only then do we pick up the twenty-two inch round.
Six lessons of worksheets. Strokes, petals, flowers - on paper, where mistakes cost nothing and confidence gets built.
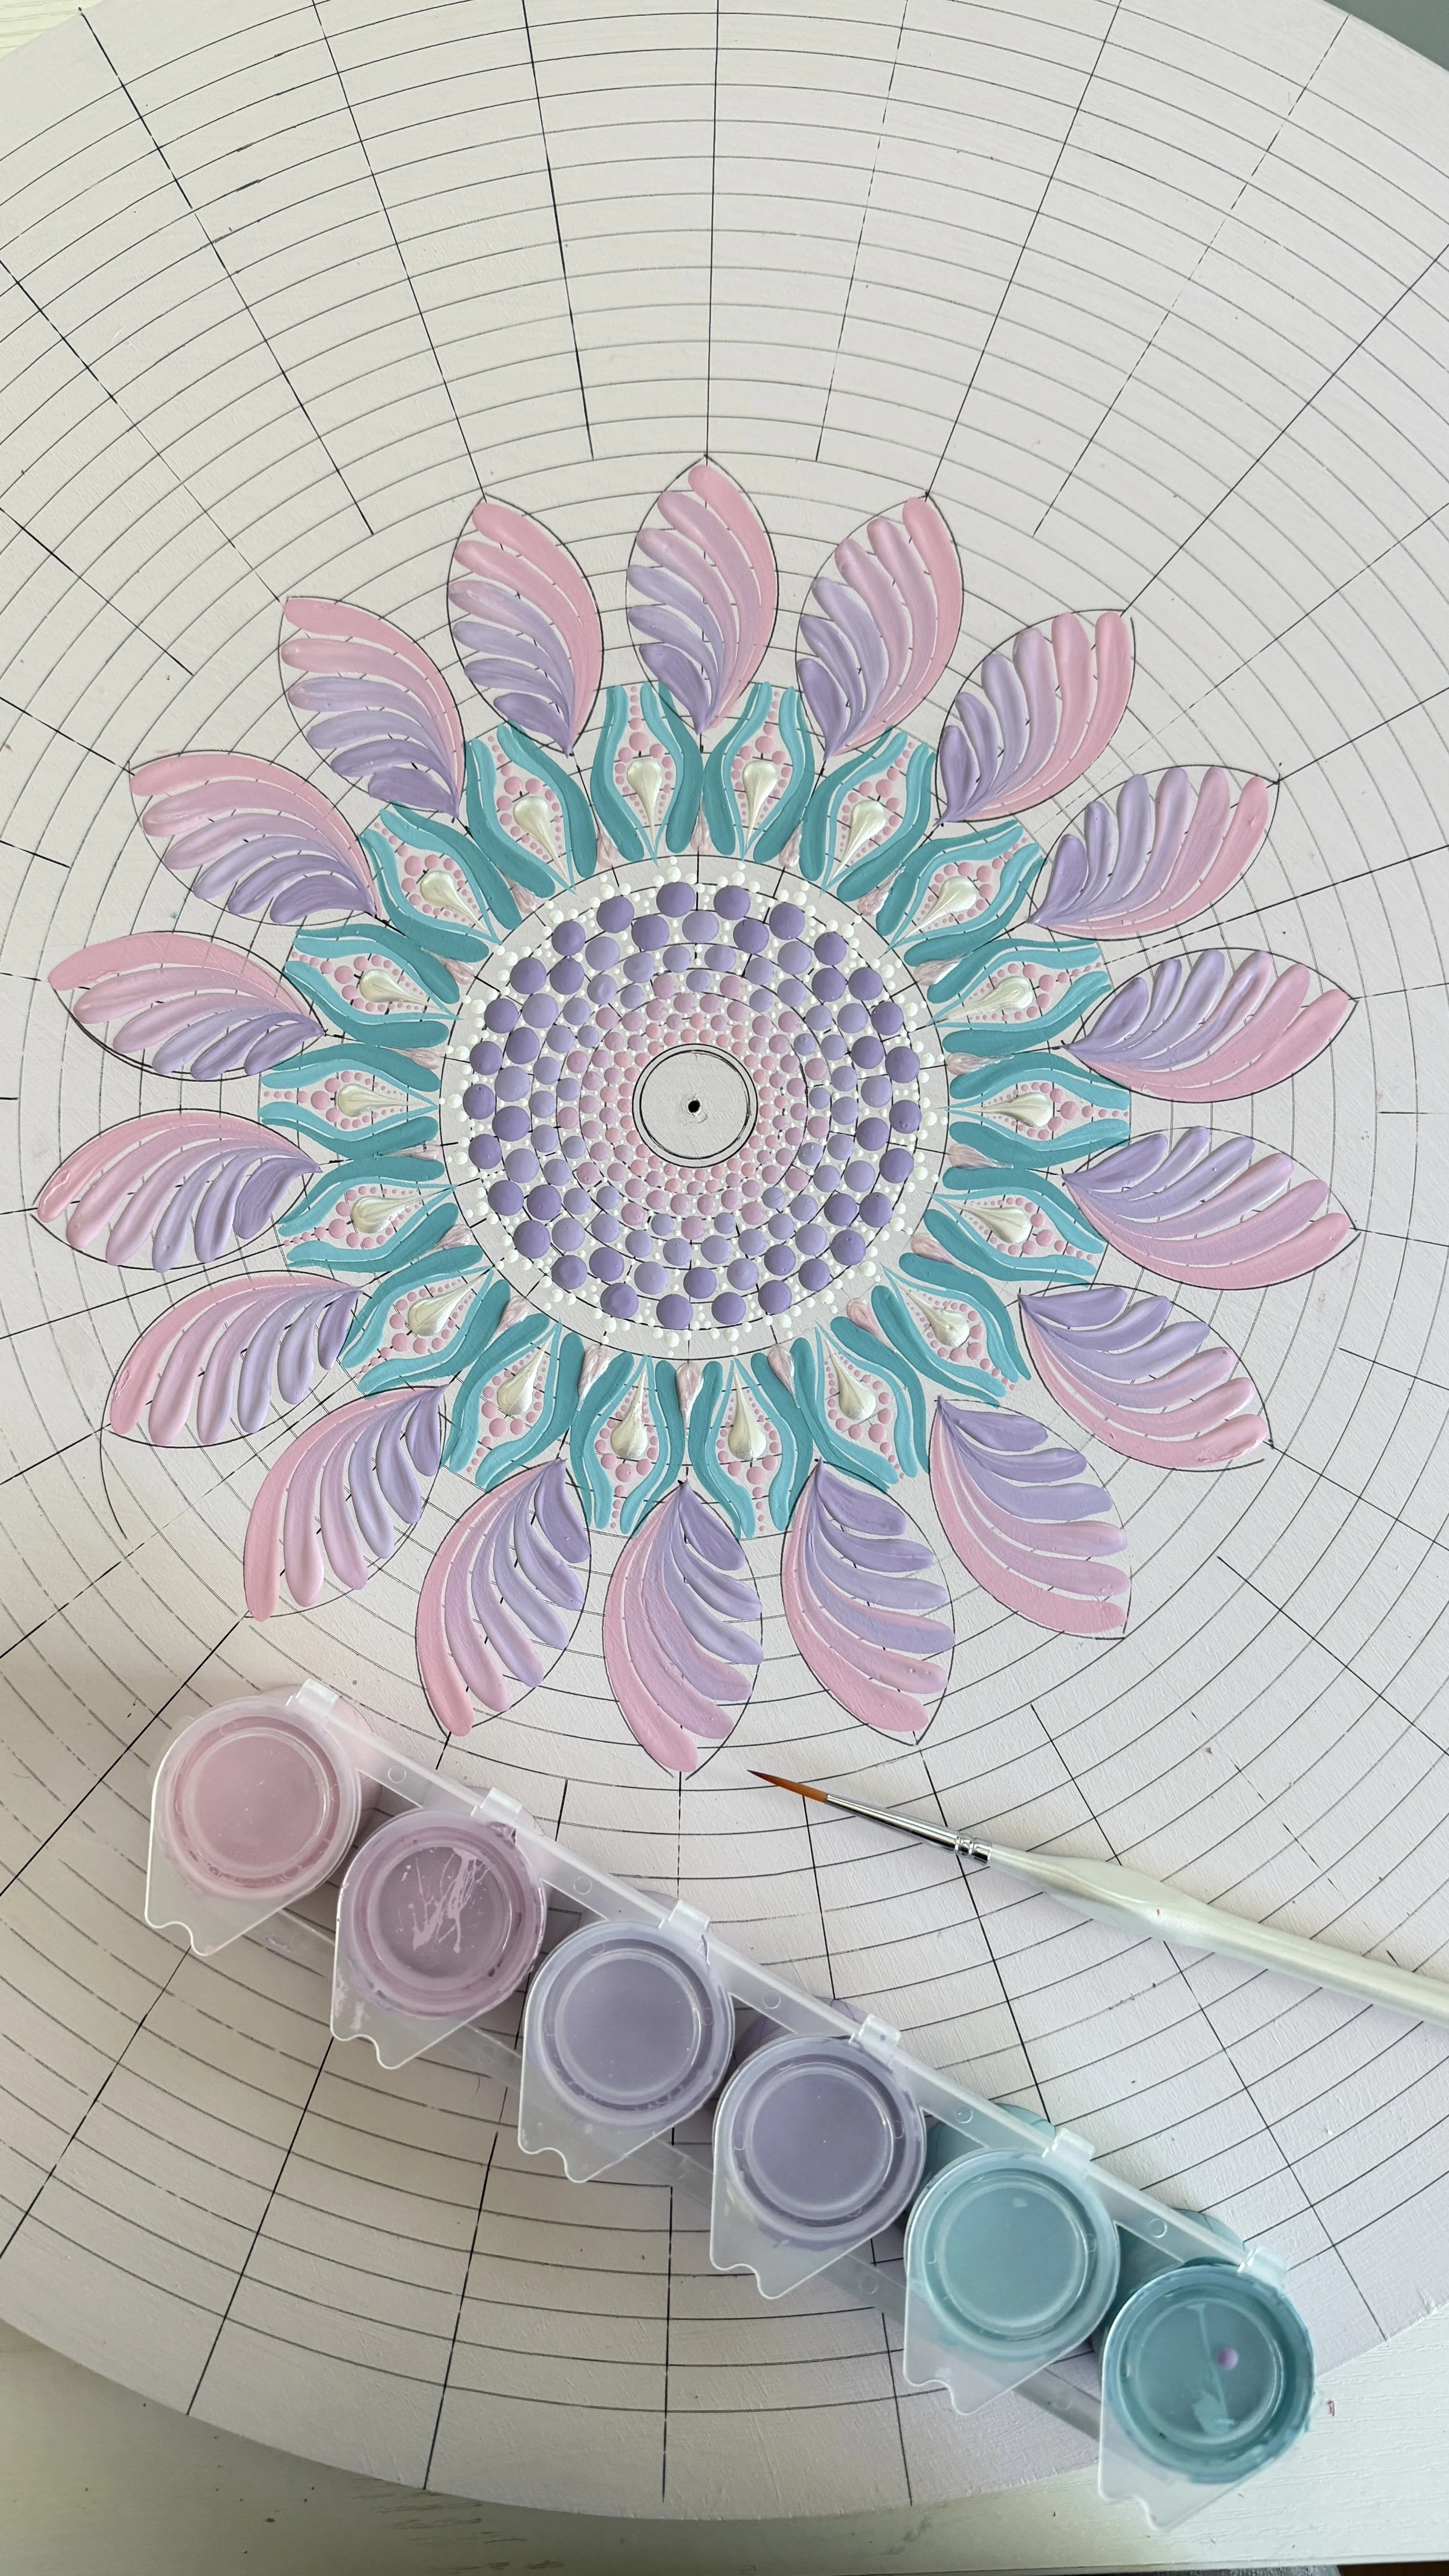
Choose your palette, sketch your grid, prep the board. Two grid methods - the traditional way and mine.
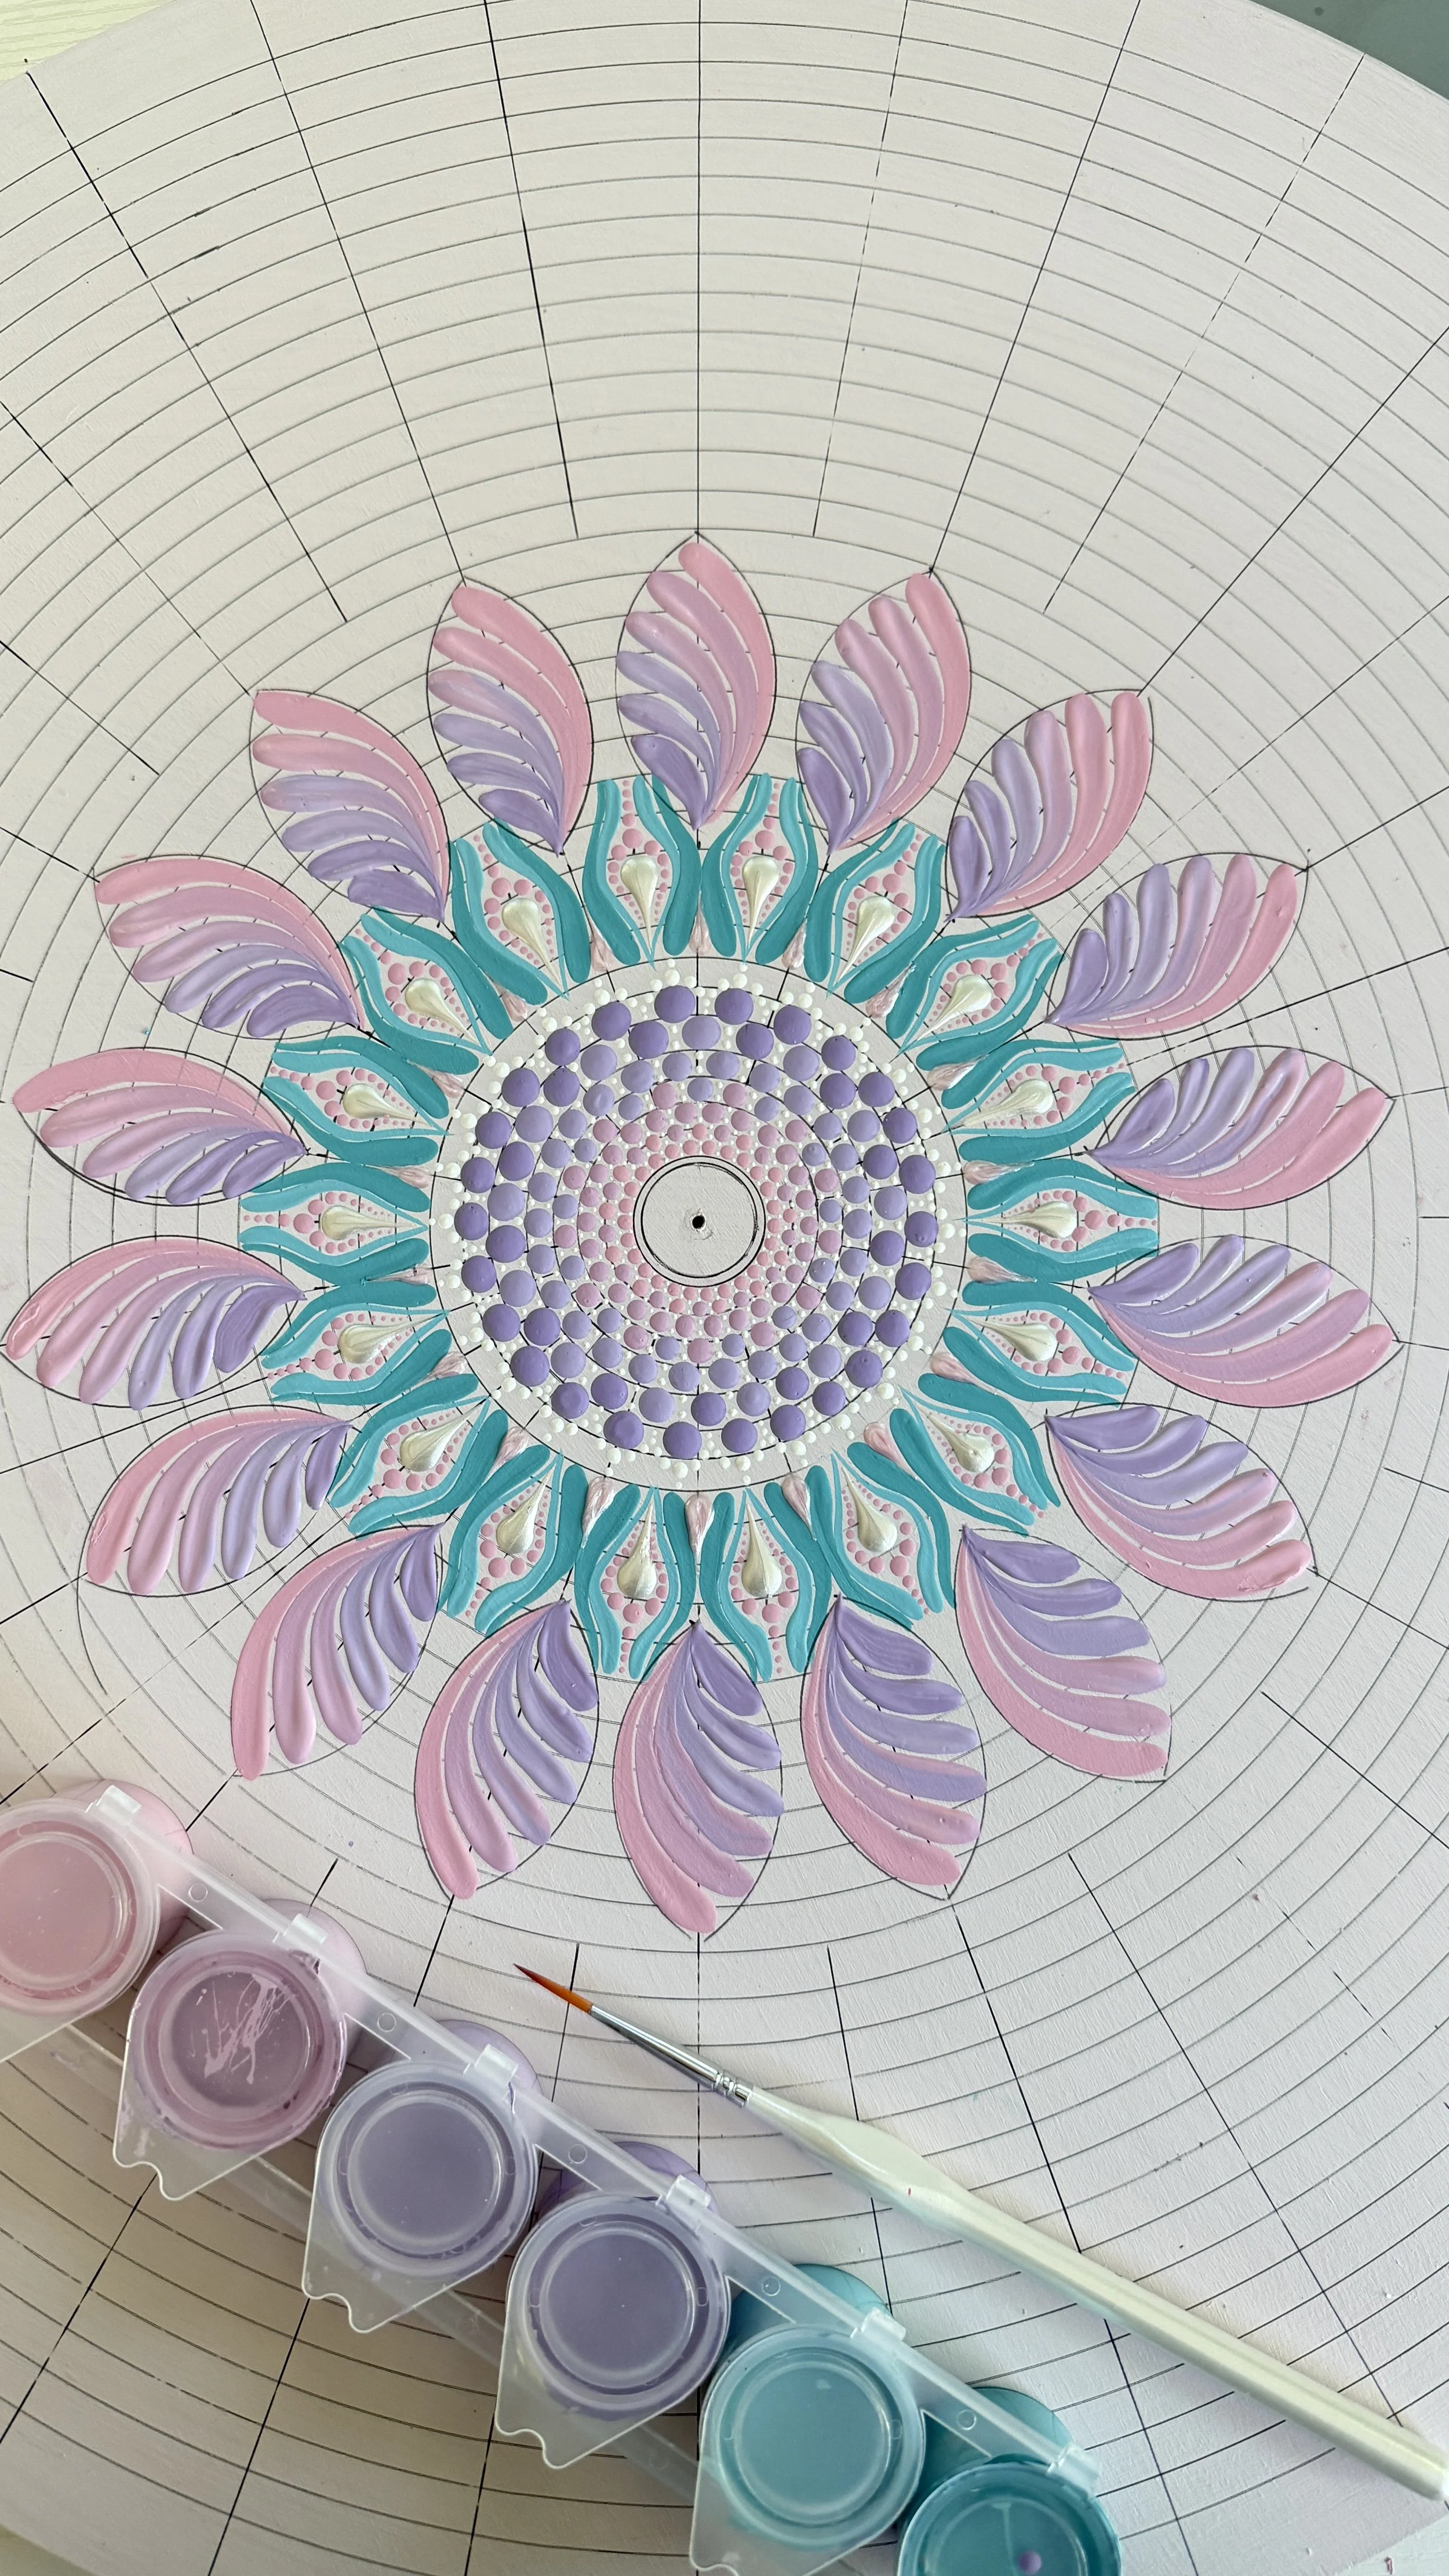
Two complete pieces, start to finish, in real time. One pre-sketched at 22 inches, one free flow at 21.
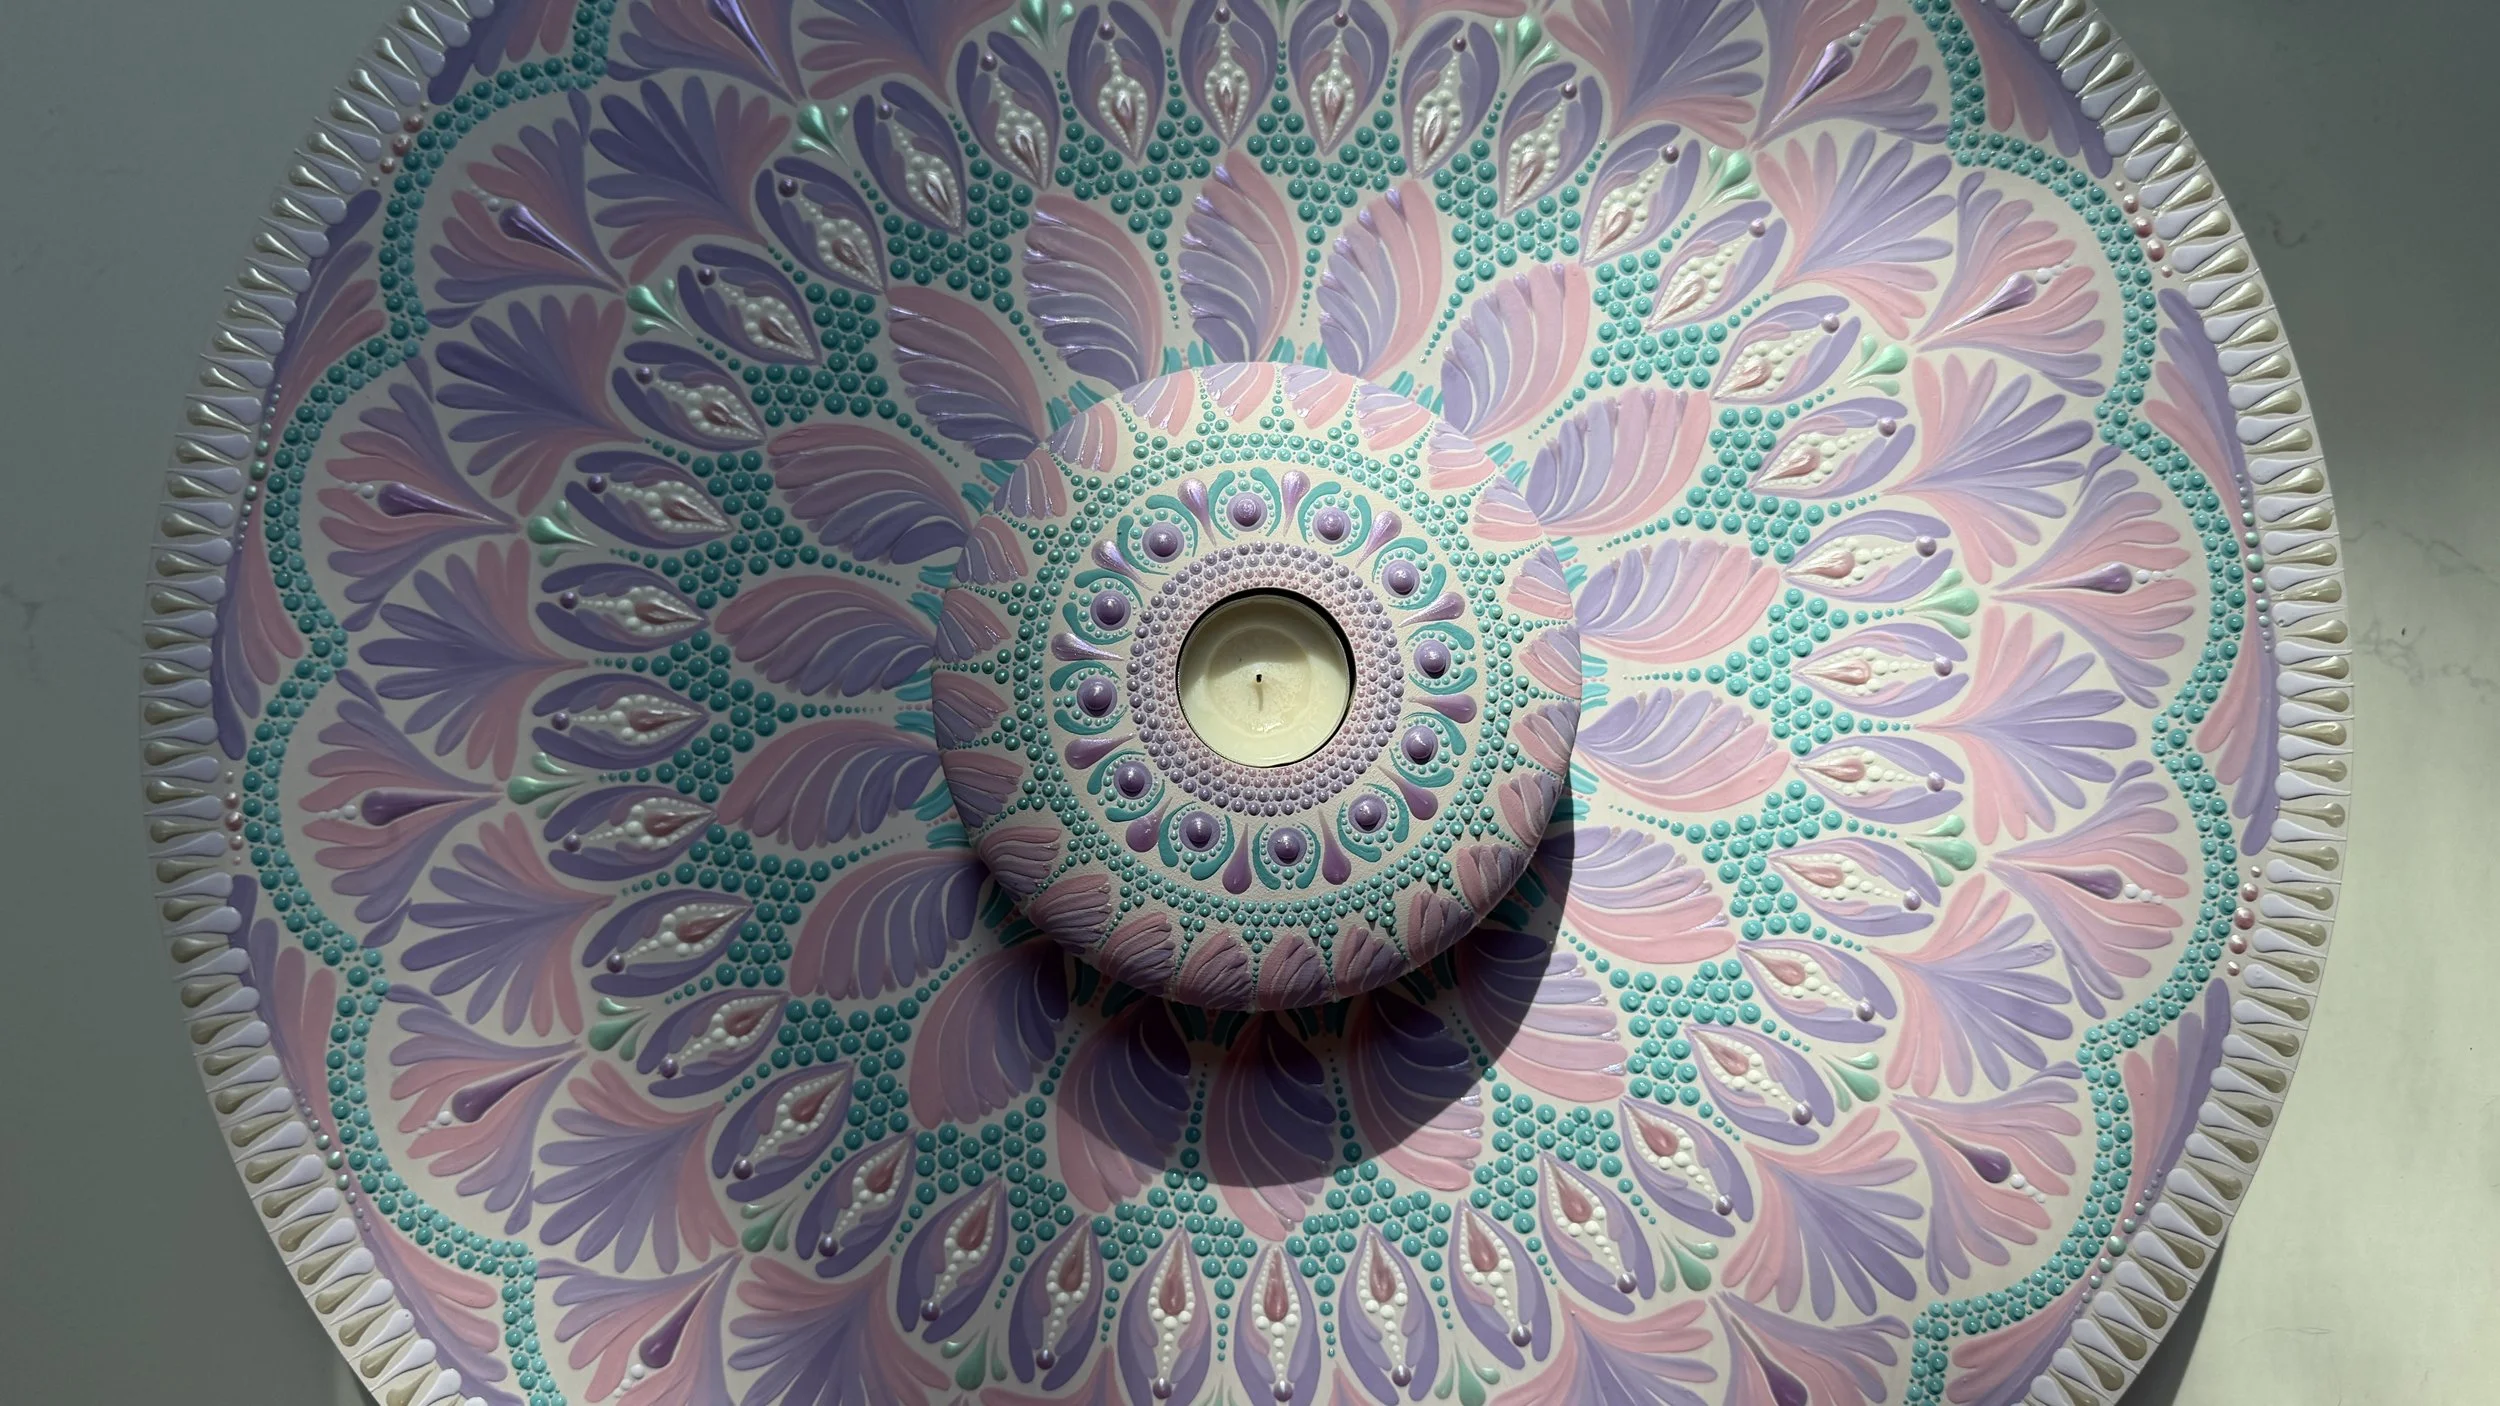
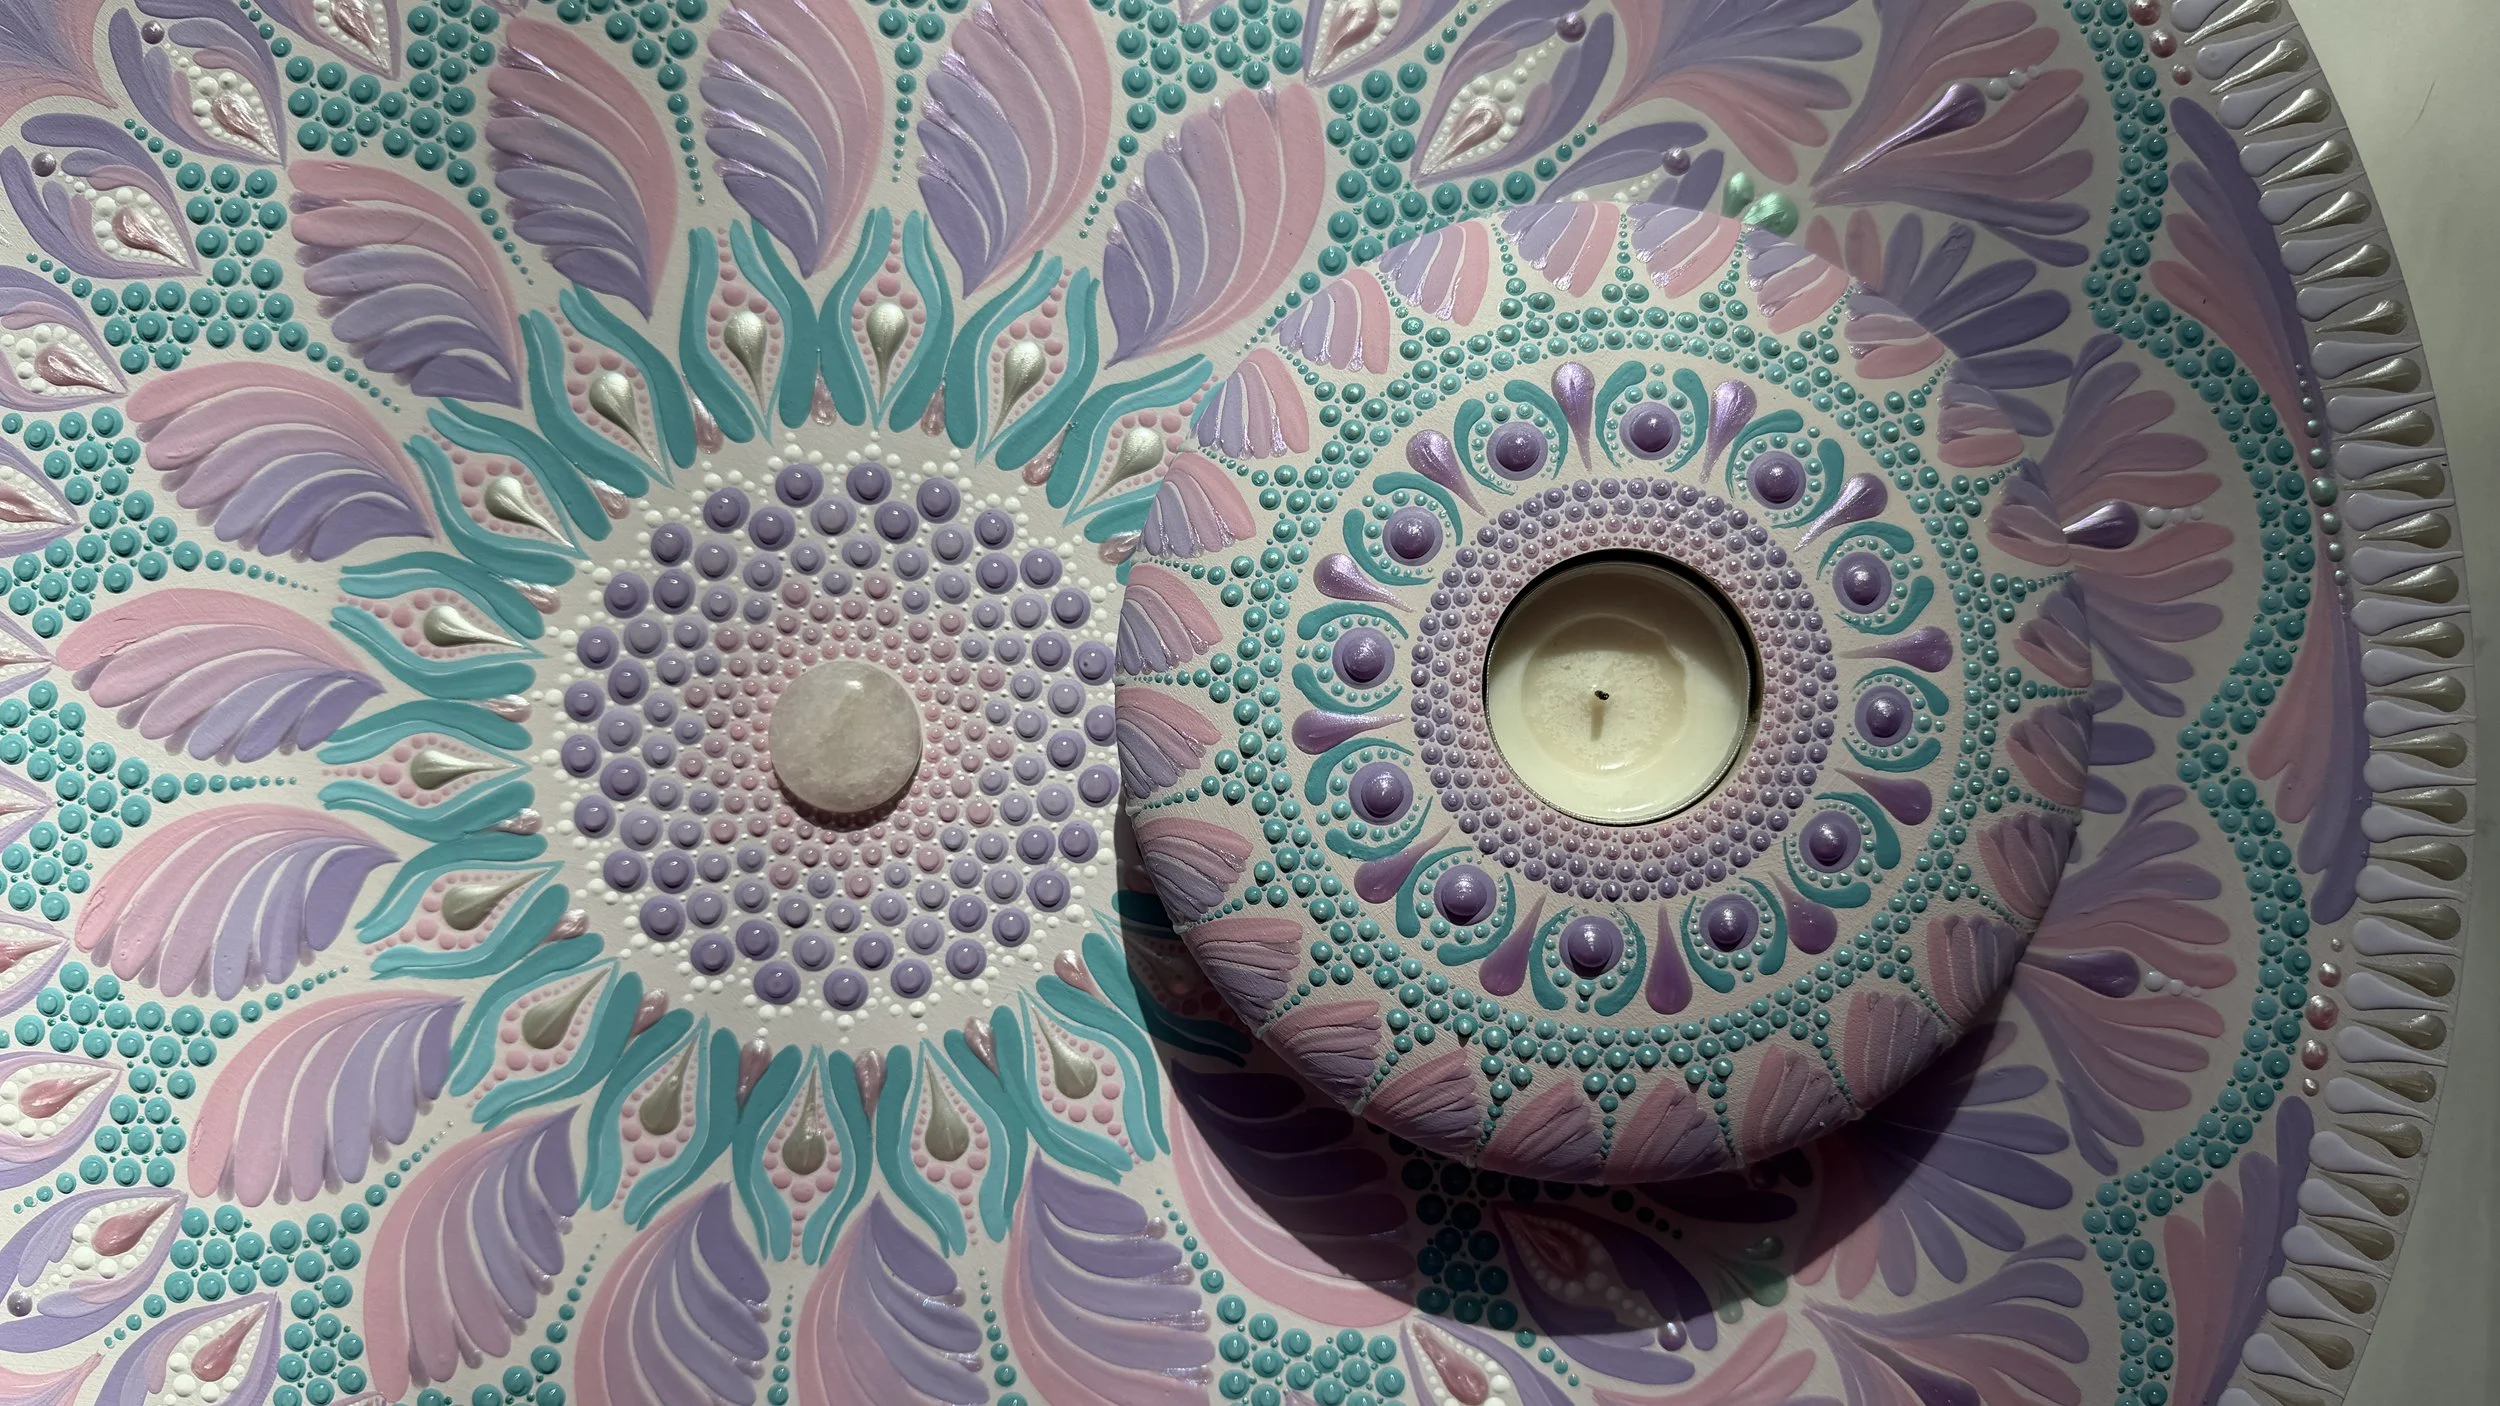
Lift the guidelines, varnish it properly, and hang something you made with your own hands.
The brush is a
different hand.
If you already dot, you know the rhythm - place, lift, repeat. A brush asks something else of you: pressure, direction, a little courage. This course teaches that second hand, slowly, and then puts both of them to work on a piece worth framing.
- Brushstroke technique built from scratch on worksheets
- Flowers, petals and layered floral elements
- Building palettes that hold together across a large piece
- Two ways to sketch a grid on a big round
- The stencil technique — a 22-inch piece, start to finish
- The free flow technique — a 21-inch piece, start to finish
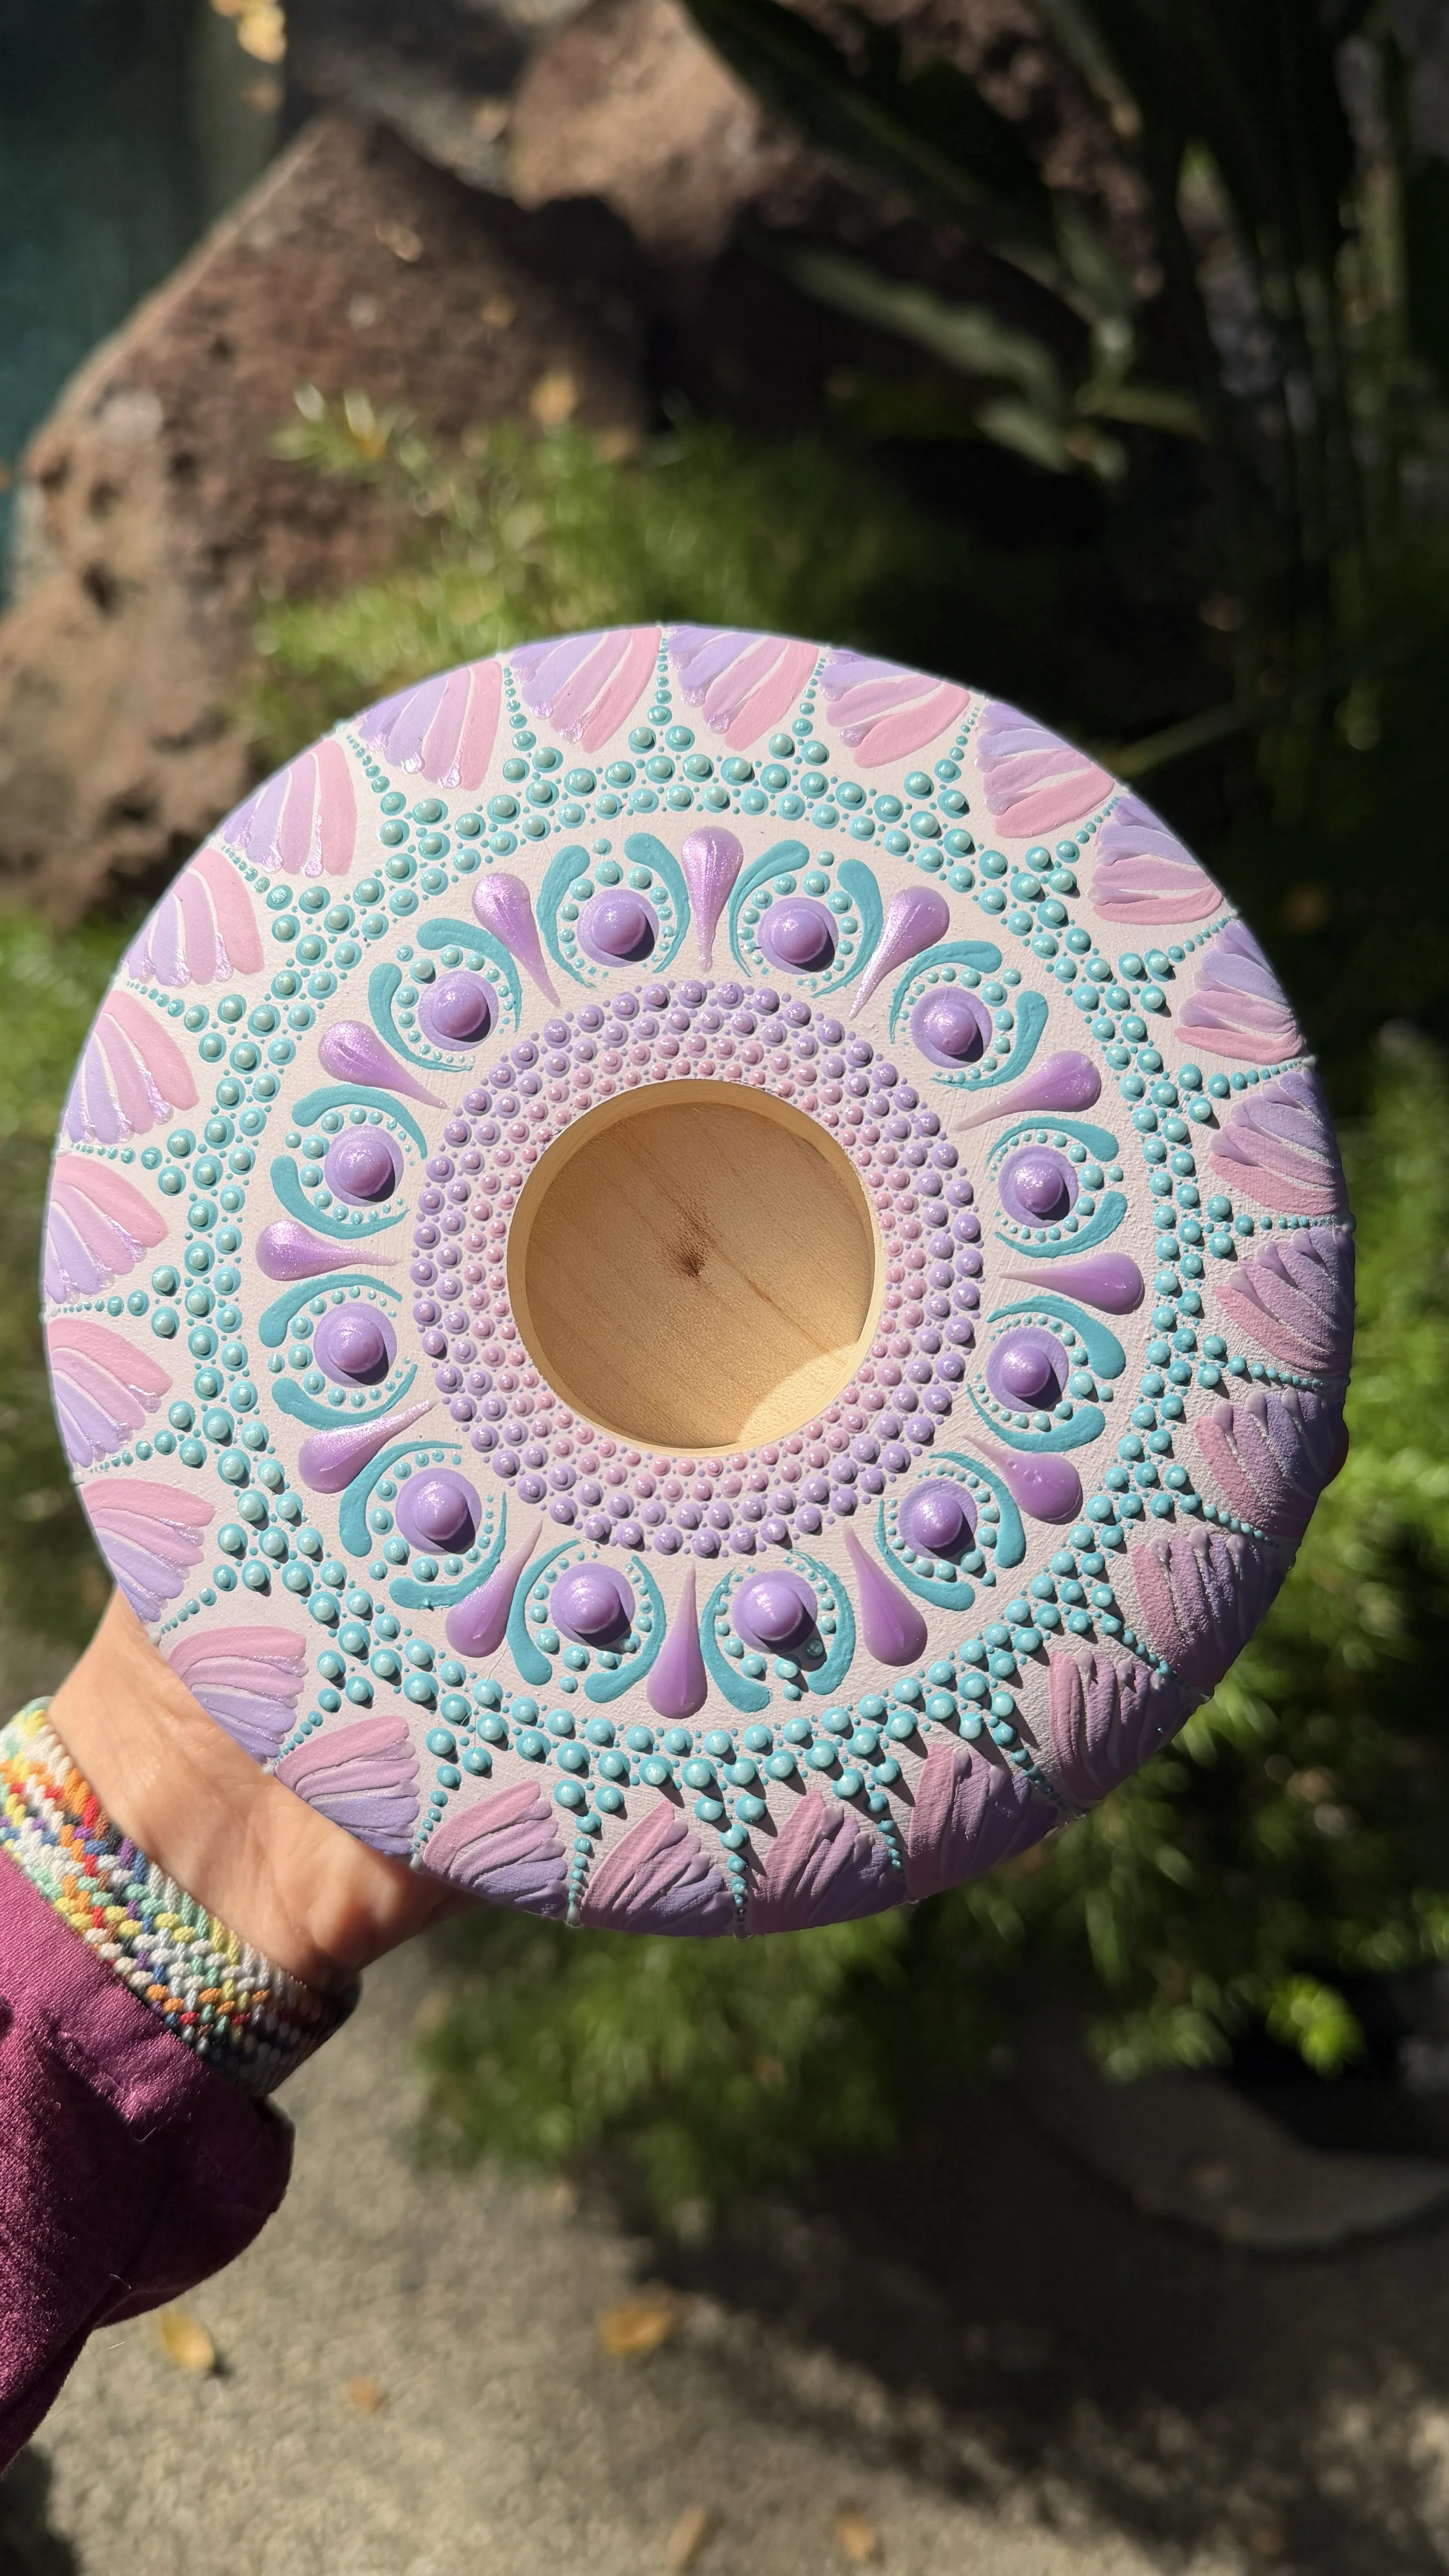
- A matching tea light holder from the same palette
- Written notes, supply links and PDFs under every lesson
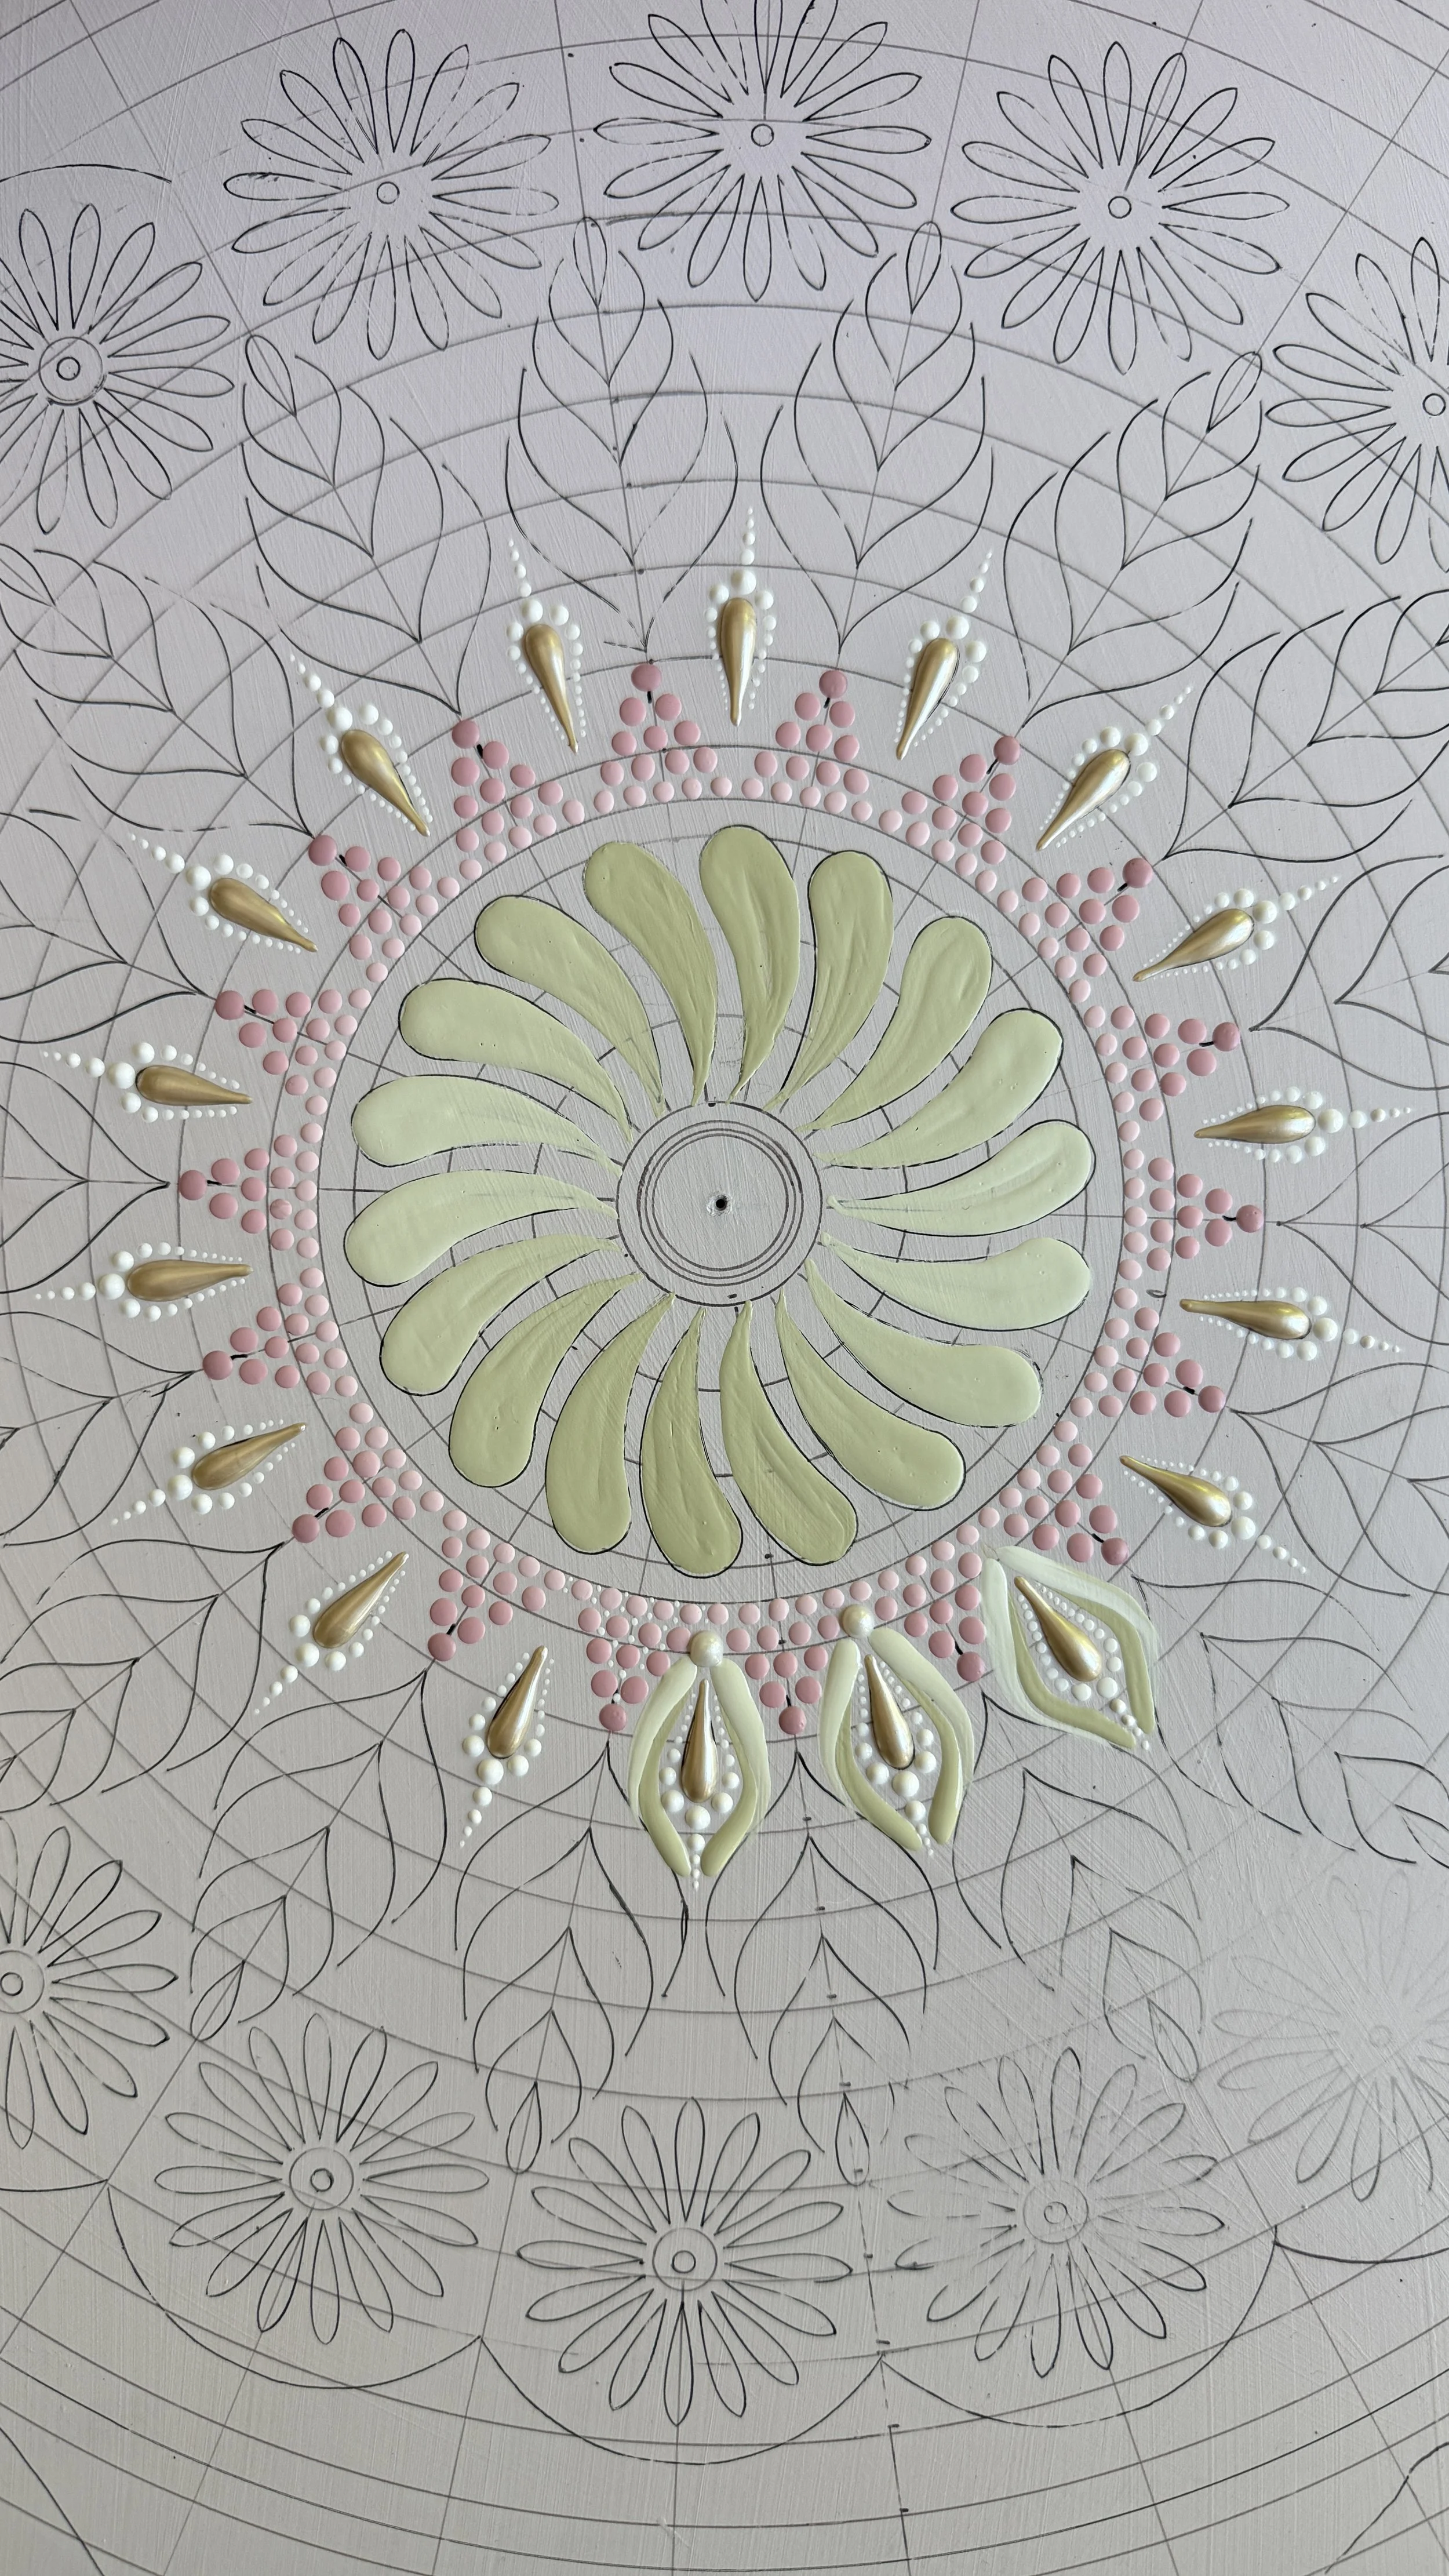
This is what a brushstroke looks like.
Photographs show you the finished piece. They can't show you the moment the brush lifts — or the fact that most of this happens sitting outside on a quiet afternoon, which is rather the point.
Pick the one that suits your nerves.
This isn't a course with one right answer. There are two complete techniques inside, taught in full, and you choose where to start. Most people eventually do both — and then start mixing them.
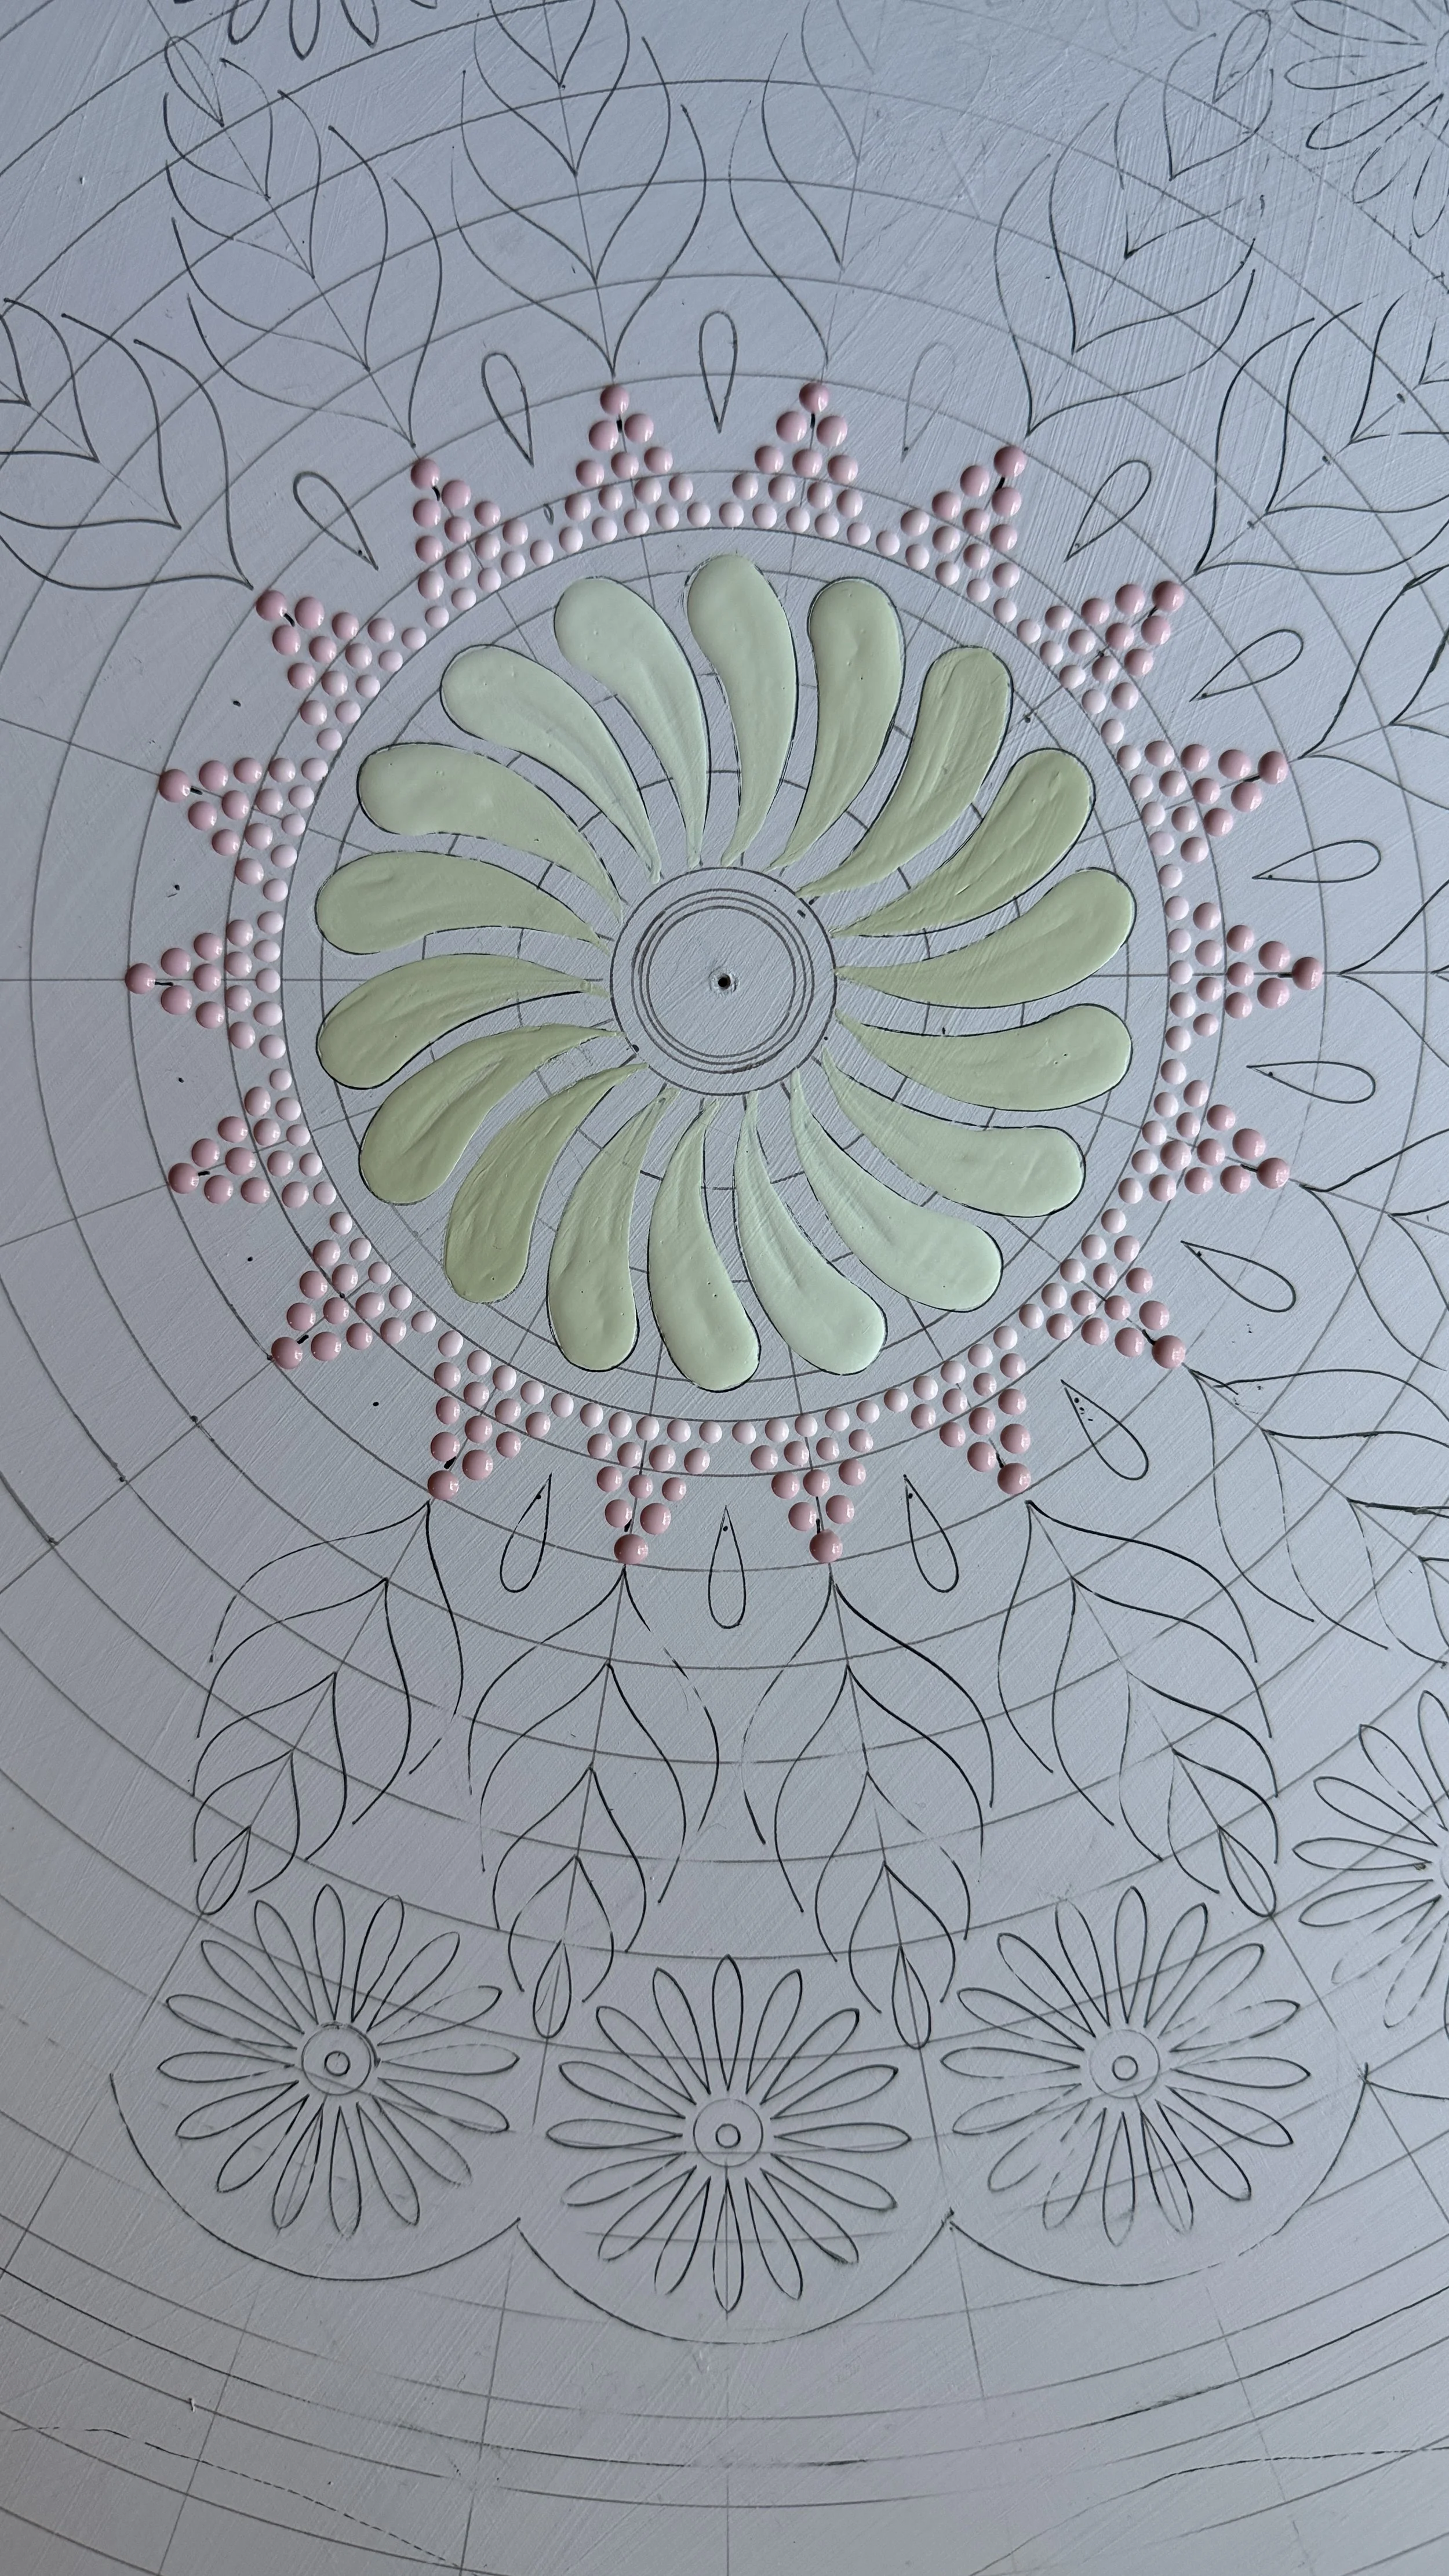
Your design goes onto the board before your brush does. You know what you're making, you can see it, and the painting becomes the calm part — filling in something already decided. A 22-inch piece, in three parts, in real time.
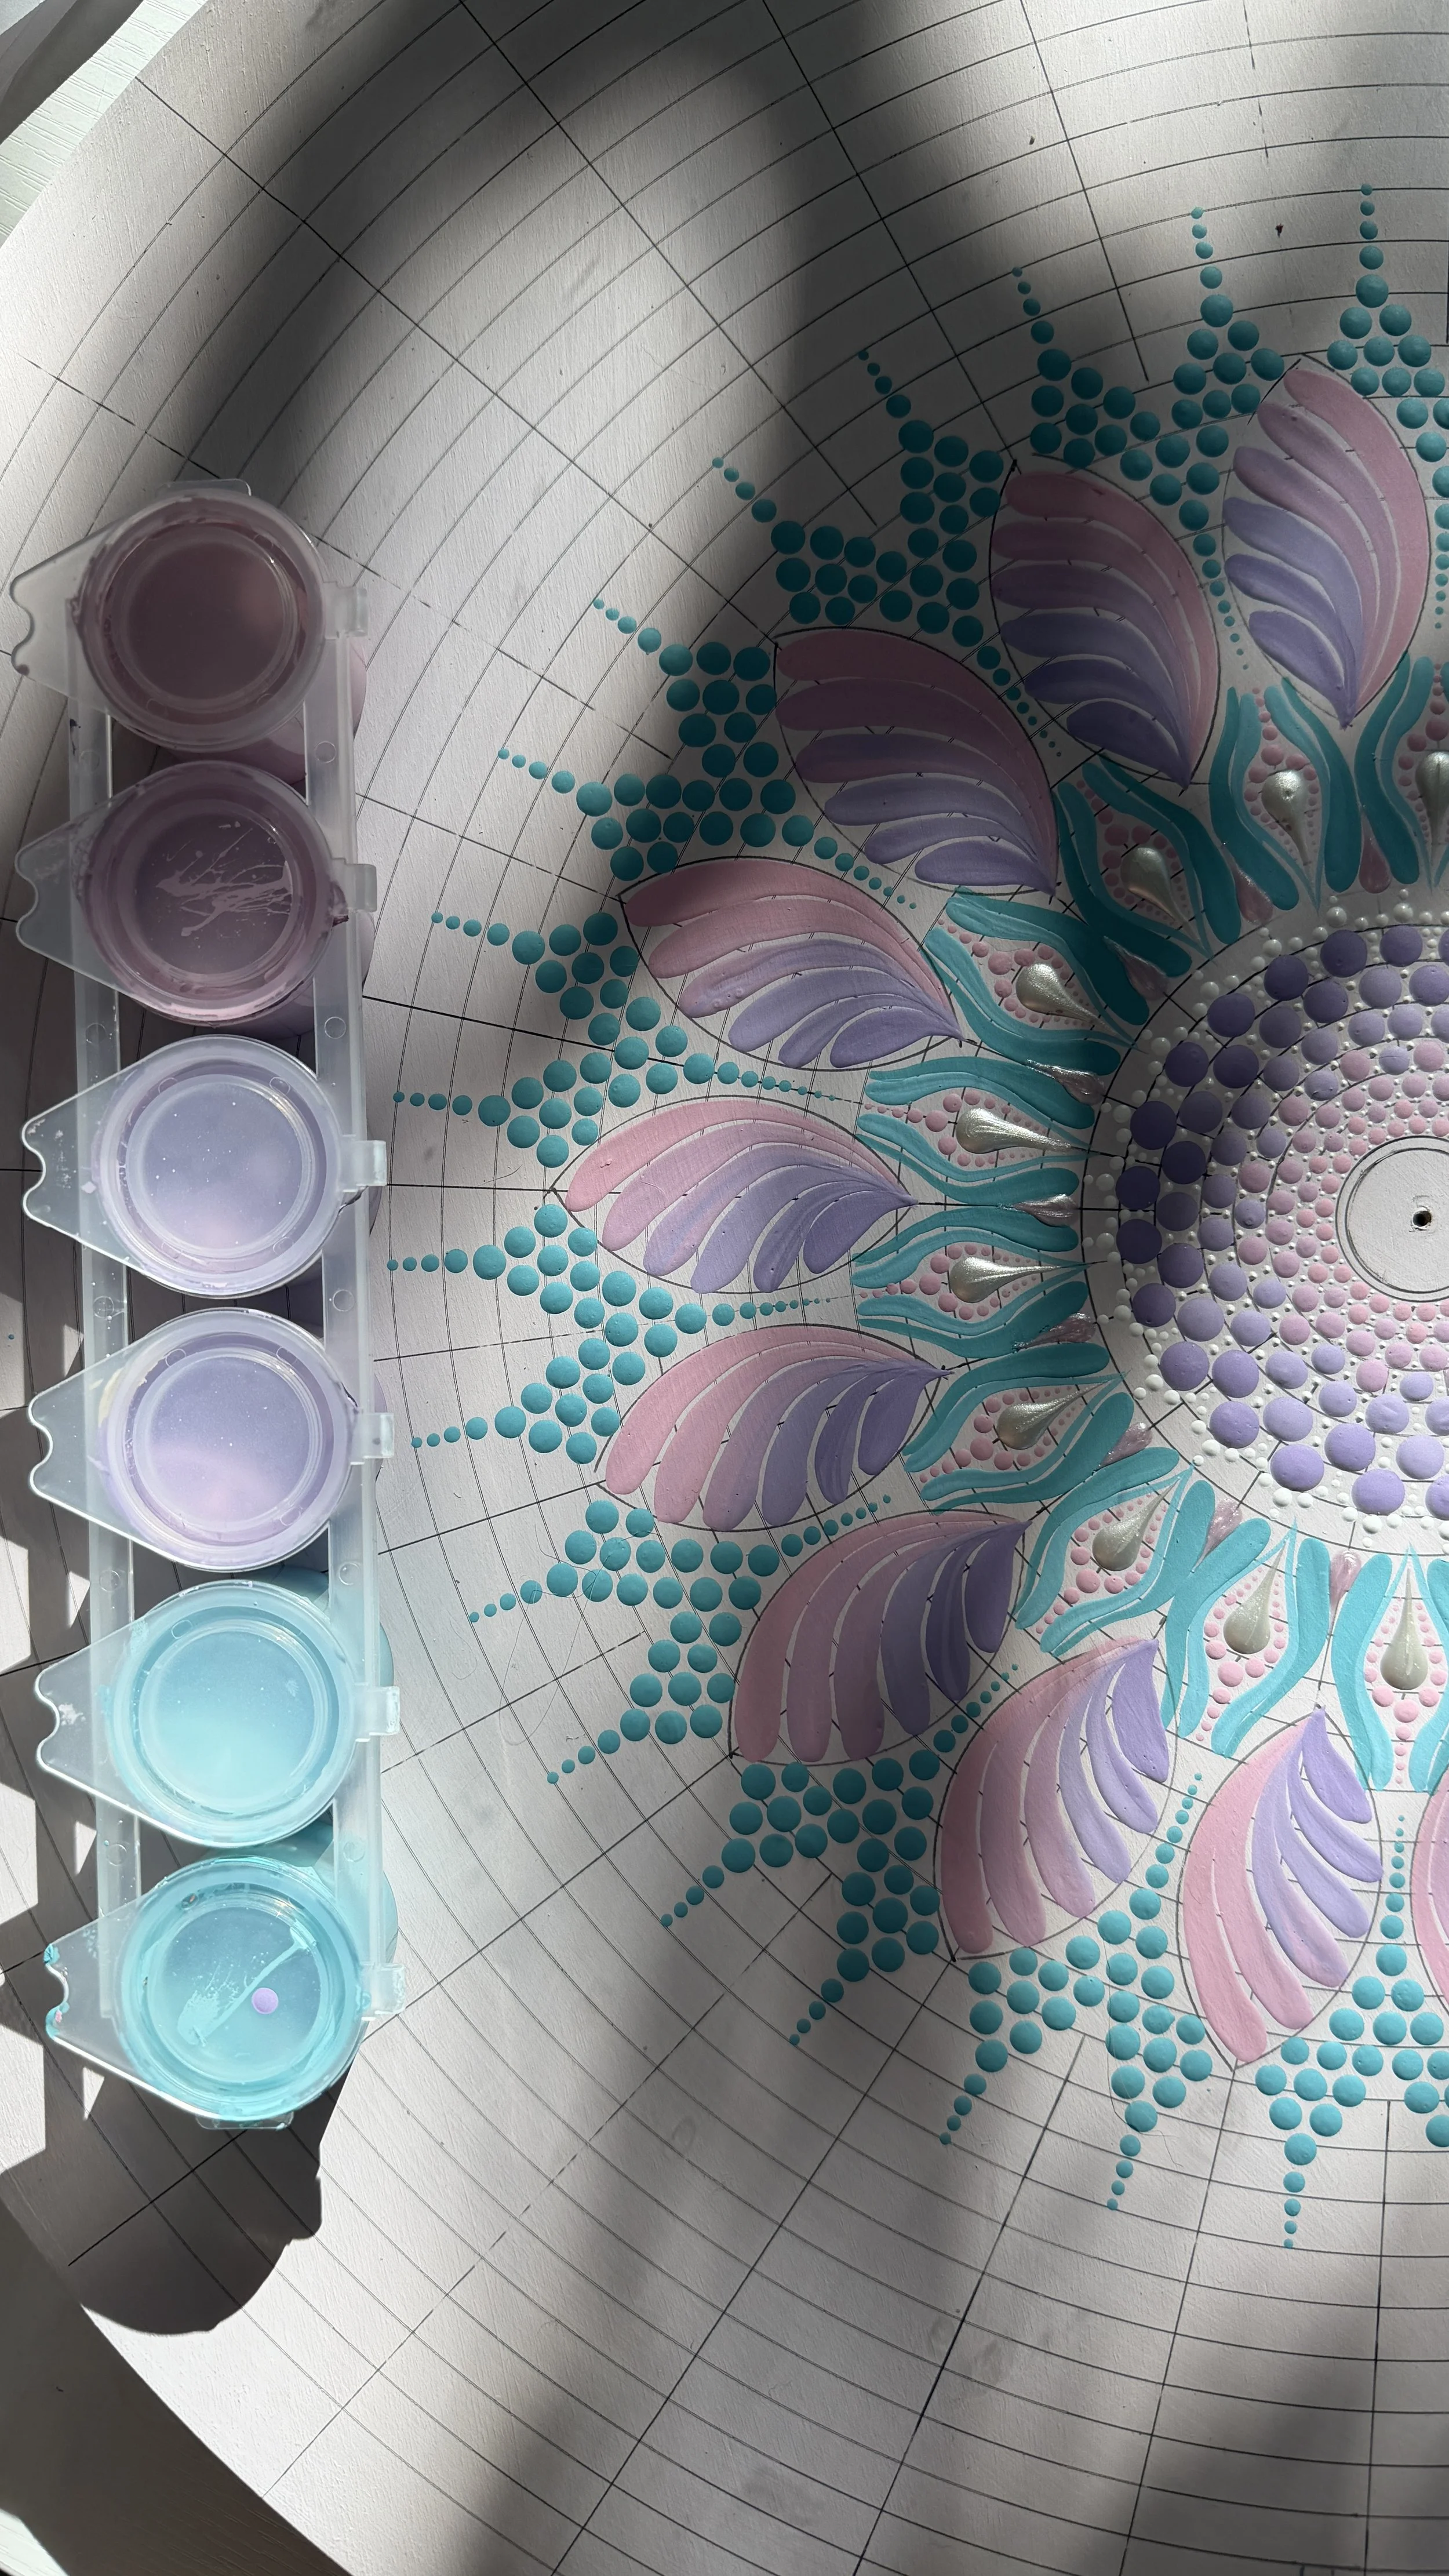
A grid, a palette, and then you follow your hand. Nothing is drawn in advance. It's the technique that produces pieces you couldn't have planned — and the one that teaches you to trust yourself. A 21-inch piece, painted through.
"Two levels of comfort. Take whichever one you need today — the other one will still be there."
Everything, in order.
No schedule and no deadline. Work through it over a weekend or a season - it's yours for good, and every lesson has written notes underneath it.
- Welcome
- Basic materials
- Brushes overview
- Specialty paints
- Using stones
- Worksheets overview
- Basic brush strokes
- Basic designs
- Flowers
- Build your own design
- Create your own worksheets
- Working with colour palettes
- Colour palette examples
- Using AI to help with your palette
- Design planning
- Traditional way of sketching the grid
- My way of sketching the grid & prepping the board
- Applying a base coat
The structured road. Your design goes down before your brush does.
- All about stencils
- Palette for the pre-sketched design
- Pre-sketched 22 inch mandala — part 1
- Pre-sketched 22 inch mandala — part 2
- Pre-sketched 22 inch mandala — part 3
The open road. A grid, a palette, and wherever your hand takes it.
- Palette for free flow & the tea light holder
- Free flow 21 inch mandala
Painted from the same palette as your free flow piece — that's why they share a lesson. The big round on the wall, the holder on the table below it. Painting only; no casting required.
- How to fix mistakes
- Removing guidelines & varnishing
You will make mistakes.
All of them are fixable.
A blank twenty-two inch round is intimidating - I know, I've stared at plenty. That's why there's a whole lesson on fixing mistakes, and six on practising before you go anywhere near the board. Nothing here is a test. You can put it down for three weeks and pick it back up exactly where you left off.
Start when you're ready →Why people stay.
"Your soothing voice made each lesson a meditative experience. The mental health benefits have been profound."
"I finished in less than a week. It was like a good book I couldn't put down."
"Her soft voice and the therapeutic nature of dot art have been great for my anxiety."
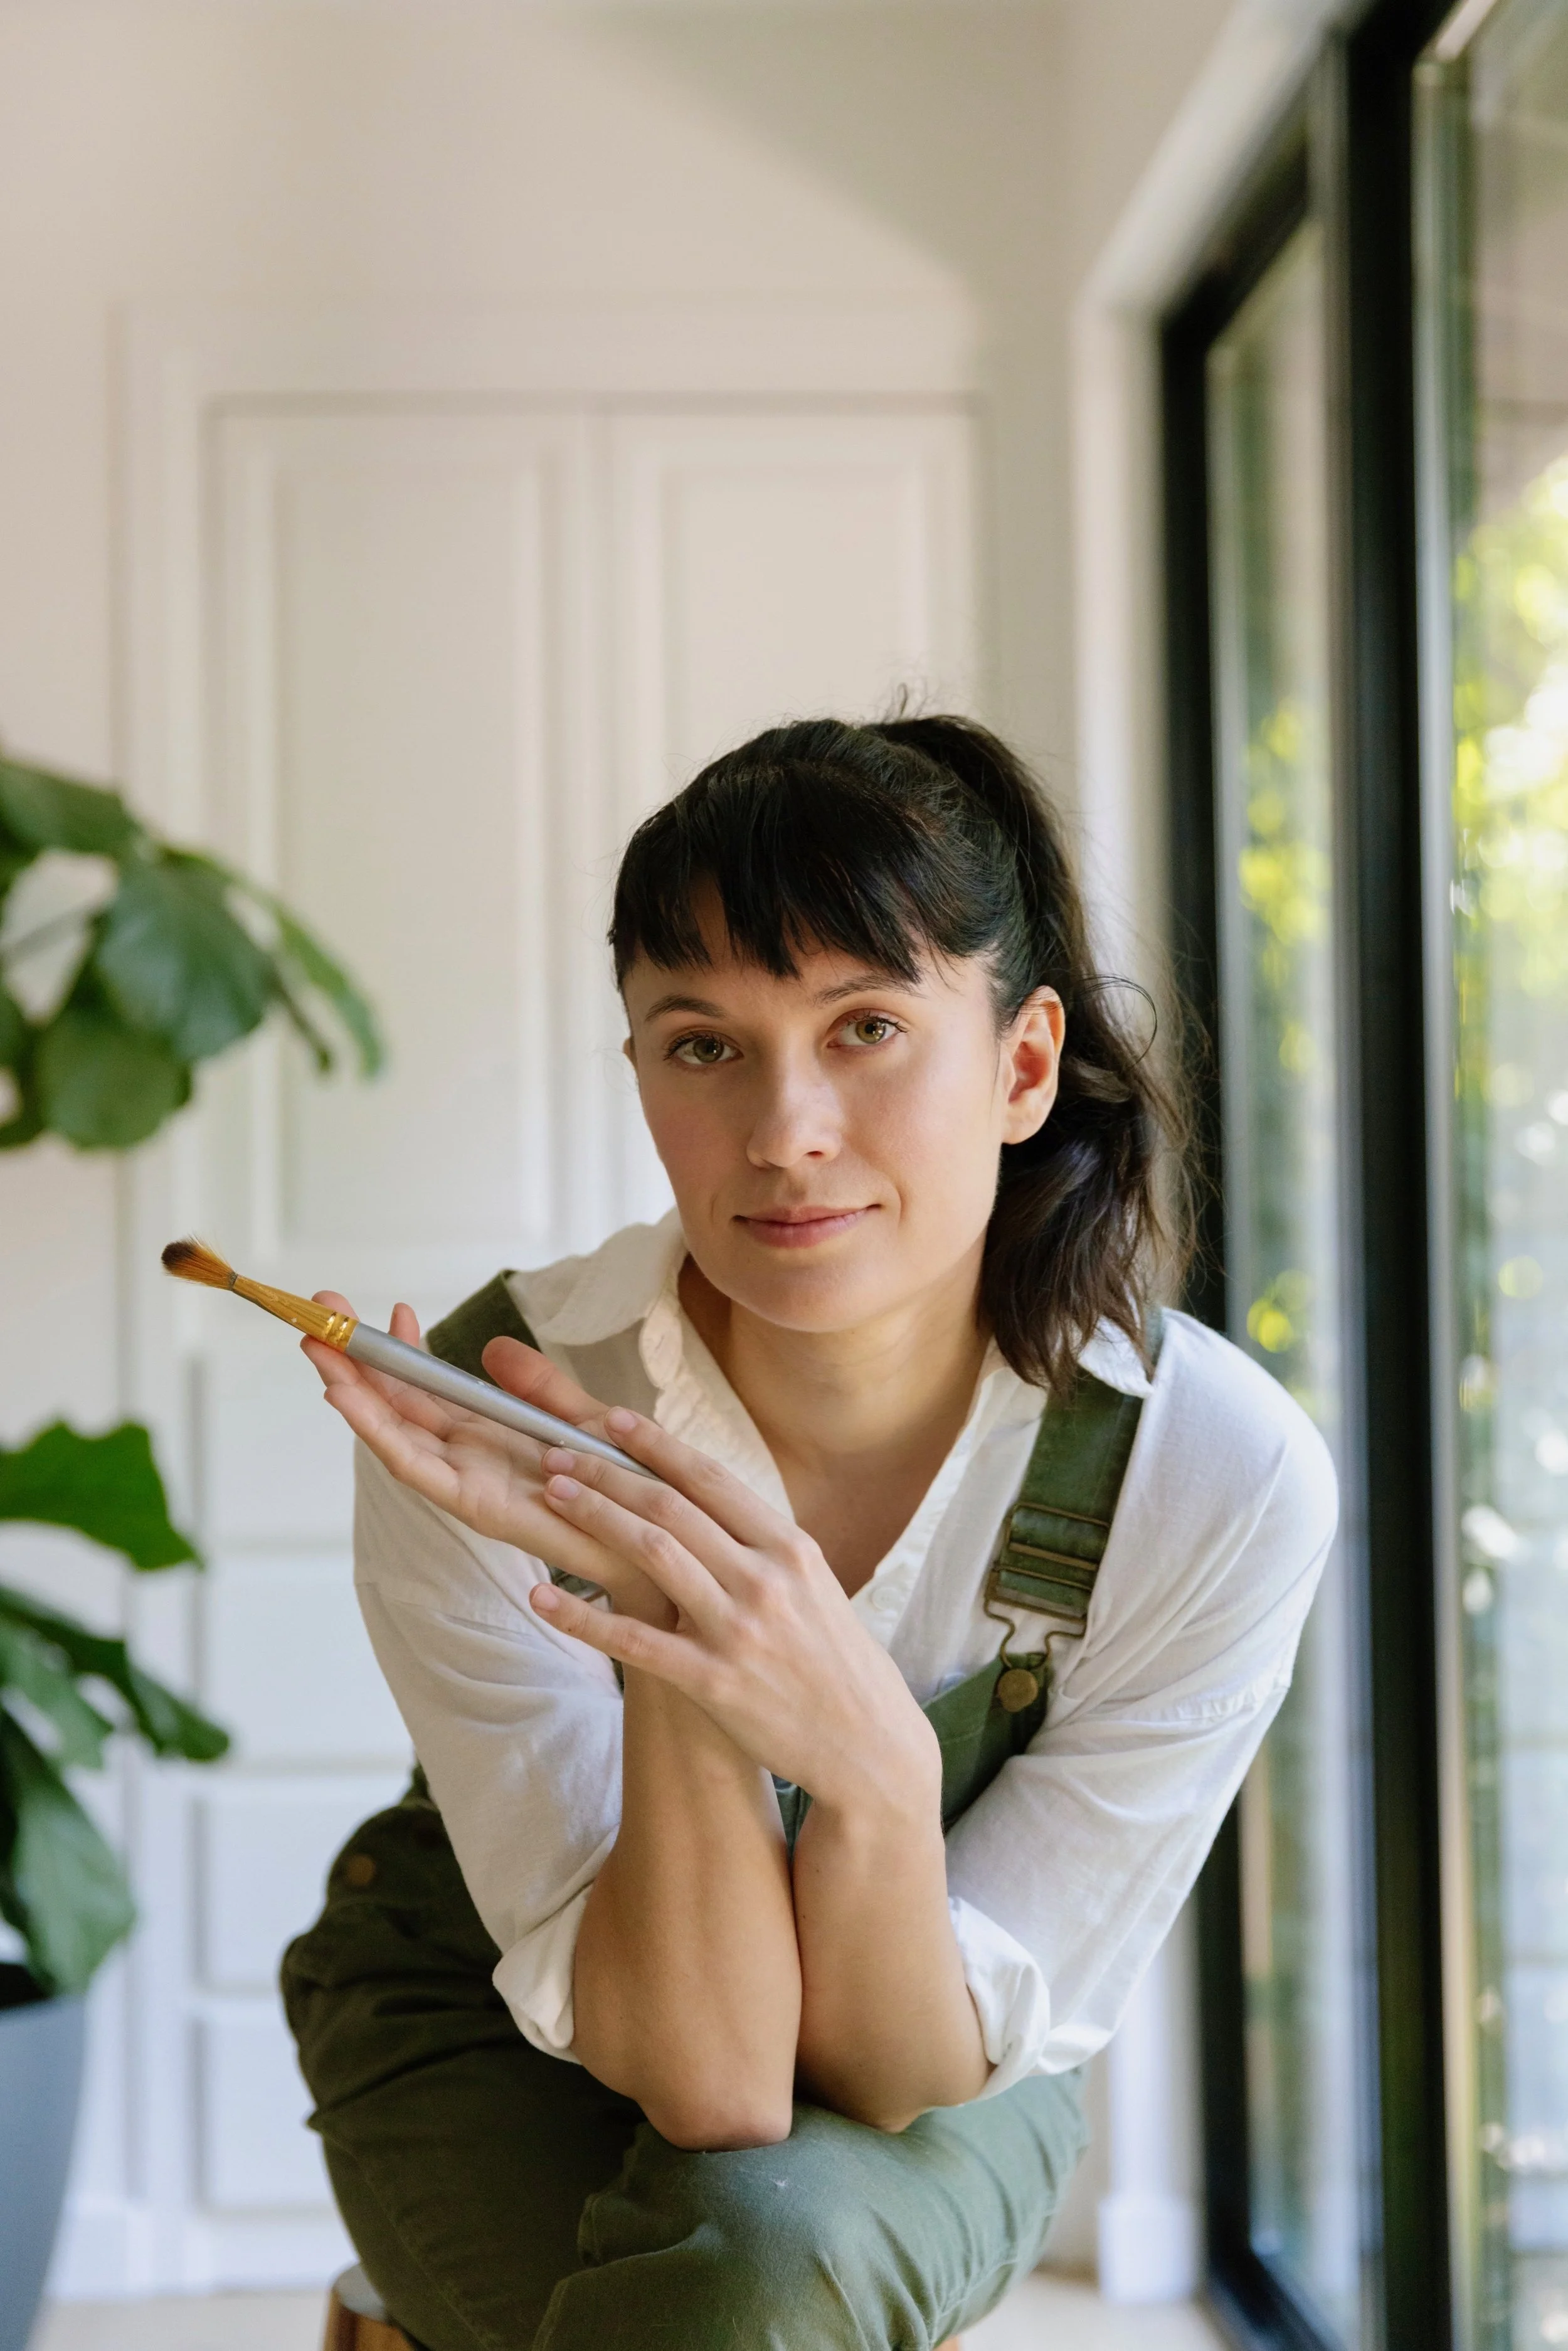
I'm a Certified Art Therapy Practitioner and a dot artist with over ten years of practice. Dot art started as something I did to quiet my own head after work, and it's still that - I just happen to teach it now, to more than a thousand students.
This course took me longest to make, because brushwork is the thing people ask me about most and the thing I found hardest to learn myself. So I broke it into the smallest pieces I could: strokes before designs, paper before board, small before large. That's not a marketing structure. It's genuinely the order I wish someone had taught me in.
I'm here, too. If you get stuck, you can write to me - and unlike a lot of courses, that isn't a disclaimer. It's the reason I made this in the first place.
Choose your path.
Every option includes lifetime access and every future lesson I add - at no extra cost, forever.
The full course on its own. Best if you've already got a few dot art pieces behind you.
- 28 video lessons · 6h 43m
- Written notes & PDFs under every lesson
- Full supply list with links and alternatives
- Two complete mandalas, 21″ and 22″
- Bonus small-format practice piece
- Lifetime access + all future additions
Brushstroke Mandalas assumes you can already place a clean dot. This adds the course that teaches you how - for $70 instead of $127.
- The Dot Art Confidence Course in full
- Brushstroke Mandalas in full
- Everything listed in the course option
- Lifetime access to both
Save $57 against buying separately
Every level, beginning to end. Confidence, Textured Dots, Advanced Elements and Brushstroke Mandalas.
- Level 1 — The Dot Art Confidence Course
- Level 2 — Textured Dots
- Level 3 — Advanced Elements
- Level 4 — Brushstroke Mandalas
- Lifetime access to all four
Save $196 against buying separately